Creating a mock button-front for the Réglisse dress requires a few alterations to the pattern, but is actually very easy when you take it one step at a time!
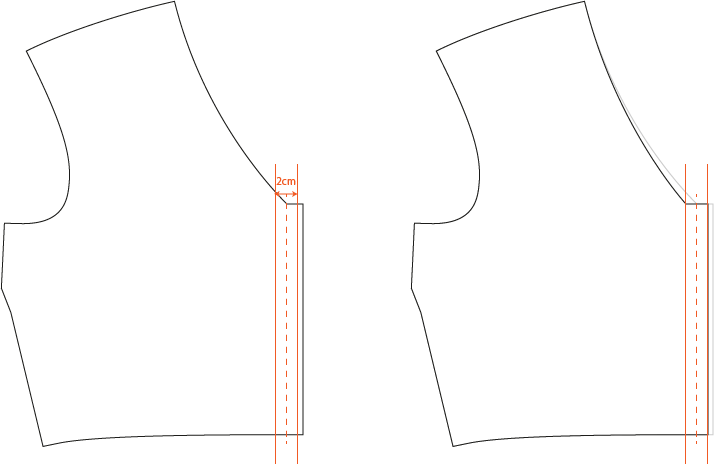
Take your front bodice piece and draw a line parallel to the straigh-grain arrow, 5/8” from the center (dotted line on the illustration).
Draw two more lines, 3/8” on each side of your first line.
Finally, redraw the bodice neckline so that it meets the left-most line, and cut along the right-most line (second illustration above).
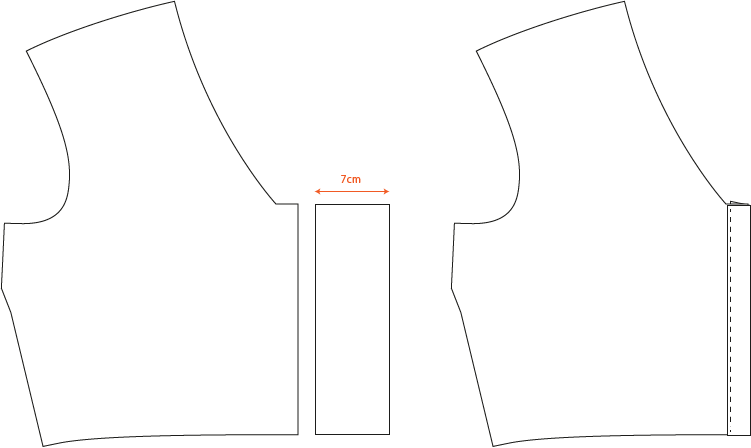
Cut two rectangles of fabric, 2 3/4” wide and the same height as the center of your front bodice. Assemble your bodice as indicated in the instructions, but without sewing the center front. Finish the neckline with a biais facing. Fold in the top of the rectangles by 3/8”, the long sides by 5/8”, and stitch them to the center front of the bodices as if they were bias tape. Topstitch in place 3/4” from the edge.
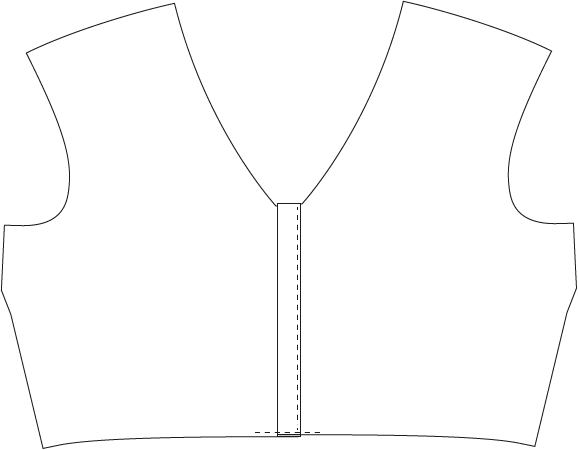
Overlap the two half-bodices so that the button-bands are on top of each other. Baste at the bottom, then sew the bodice to the waistband as usual.


