Yesterday, we saw how to adjust the bodice of the Centaurée dress for a small bust. Today, we’re going to tackle the same modification, but for a full bust!
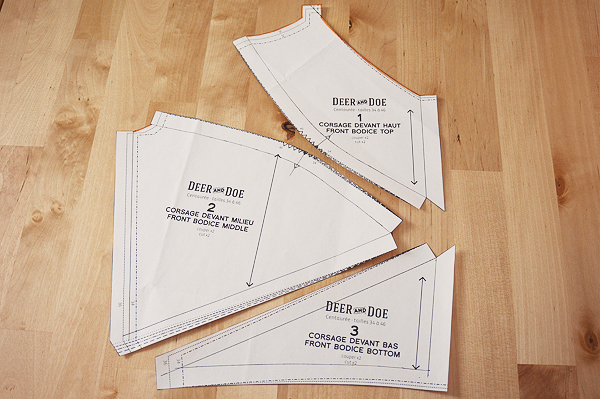
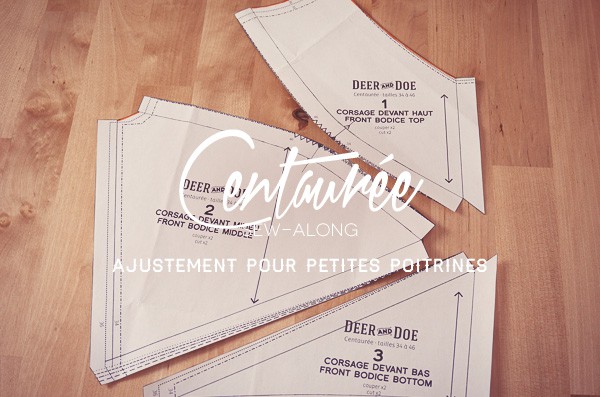
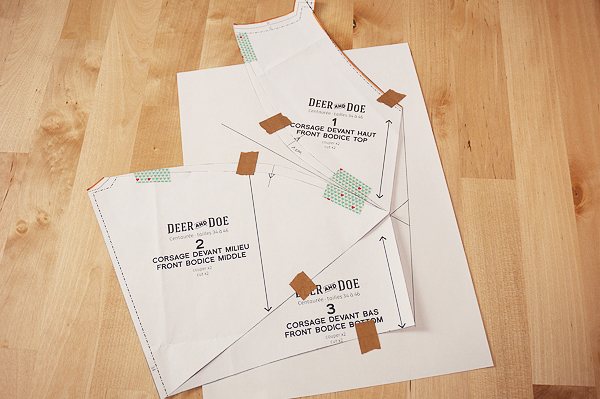
Let’s start slowly, by marking the seam allowances on pattern pieces 1, 2 and 3 of the front bodice. Be careful, certain areas do not include seam allowance (highlighted in orange in the photo below)!
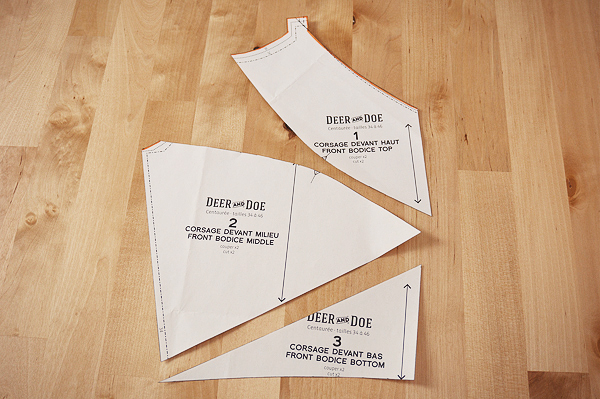
Cut the seam allowances that you’ve just traced. Don’t forget to copy the notches before cutting!
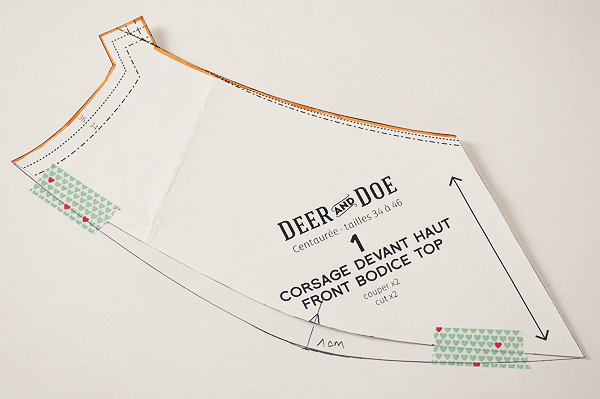
Note the amount of fabric that you need to add to the bust on one of sides of the bodice (for example, 2cm).
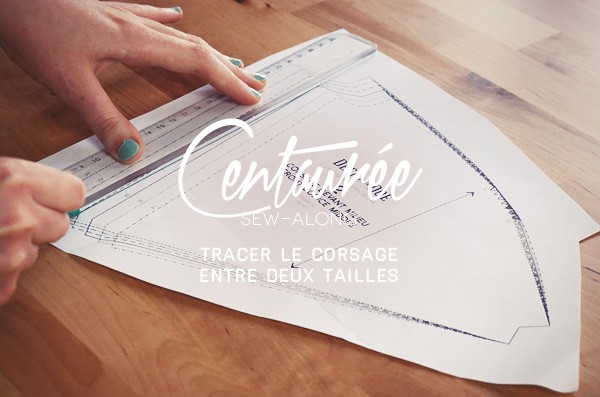
On piece n°1 (front bodice top), measure half this amount (here, 1cm) starting at the notch. With the help of a curved ruler, retrace the bust line using your mark as a reference, as in the photo above.
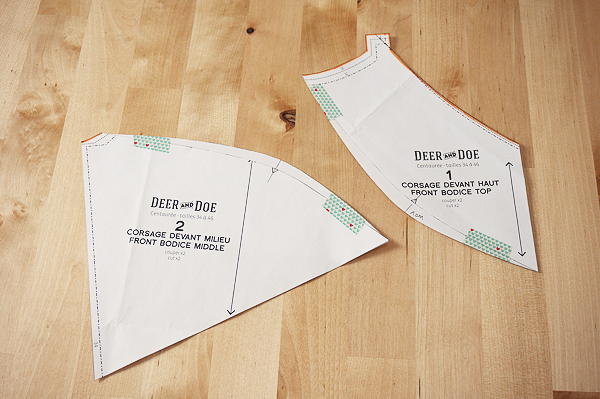
Do the same with piece n°2 (front bodice top), and cut the two pieces following your new lines.
Lay down your bodice pieces, carefully matching the seam lines (for the bust line, match the beginning of the curve as in the photo above). You can now see that the center of the bodice is not straight, rather slanted. We need to correct this!
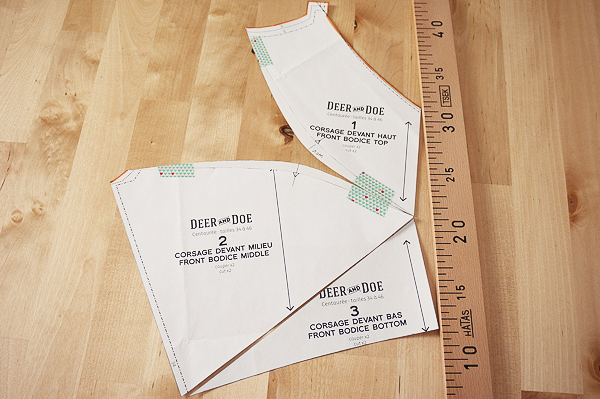
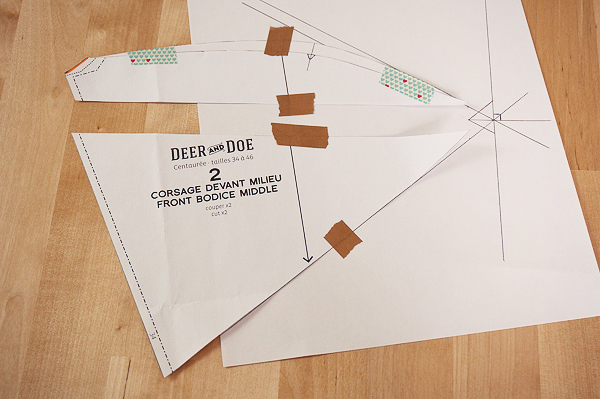
Carefully tape the pieces on a piece of paper, and draw a line joining the top and the bottom of the bodice. Also draw a line along the seamline between pieces n°2 and 3, and a line between pieces n°1 and 2 (it needs to pass exactly in the middle of the space between the two pieces).
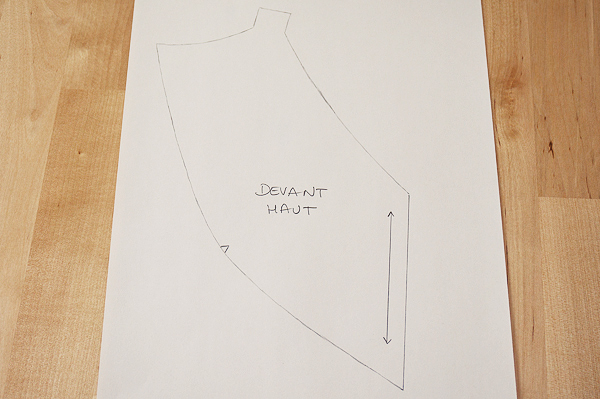
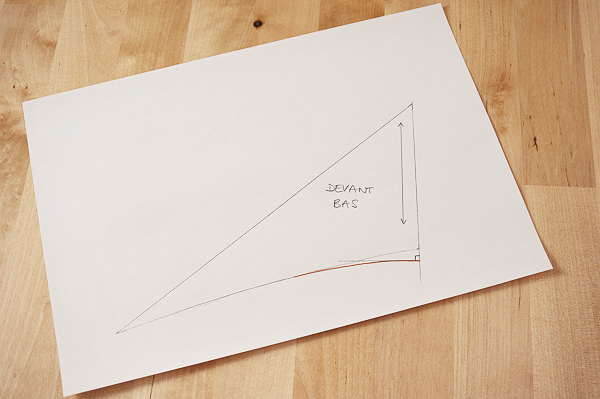
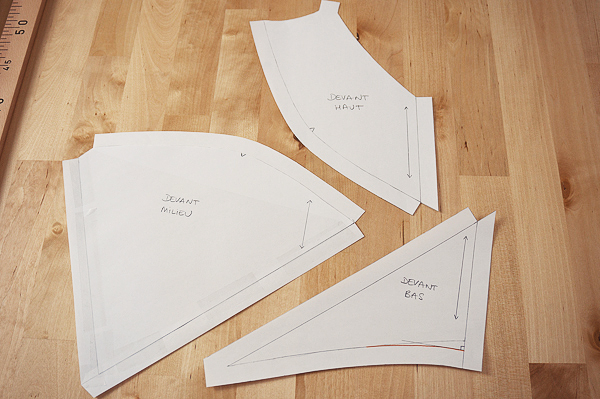
Trace pieces n°1 and 3. Correct piece n°3 by redrawing the curve at the bottom so that it’s perpendicular to the side (orange line).
Correct the grainline by retracing it parallel to the right edge of the pieces.
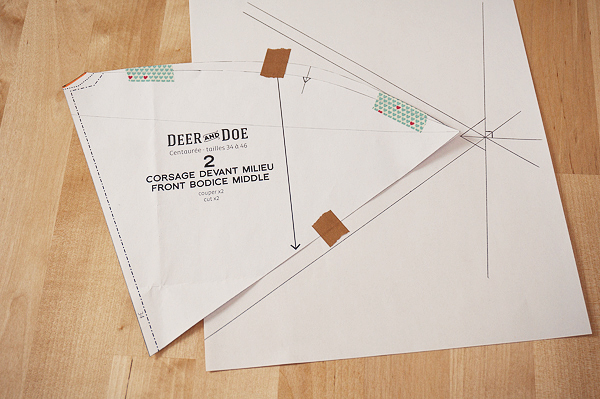
Finally, let’s modify the middle piece in order to have a nice point at the center of the x motif. Start by tracing a horizontal line, perpendicular to the first line you traced, passing through the point of the piece.
Then, draw two lines parallel to the seamline that you drew (between pieces n°2 and 3, and between pieces n°2 and 1), that cross your first vertical line as in the photo above.
Cut your piece along the horizontal line, and gently move the two pieces vertically, so that they match the new lines (be very careful not to move them horizontally).
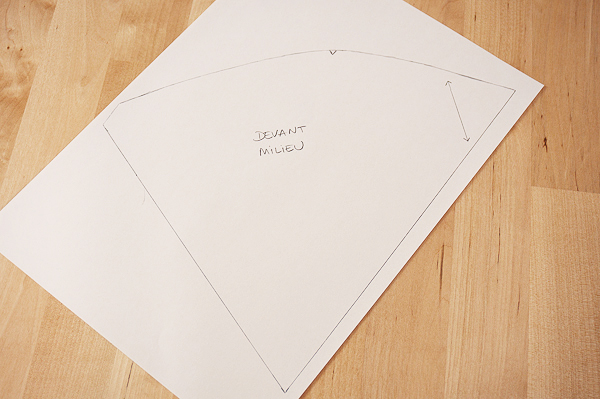
Retrace the piece you’ve just obtained by redrawing the left side of the piece. Mark the grainline parallel to the first vertical line.
Once all your pieces are traced, verify that all the seamlines match and are the same length. Add seam allowance to your new pieces. Remember not to add it along the neckline and armholes.
We’re almost finished!
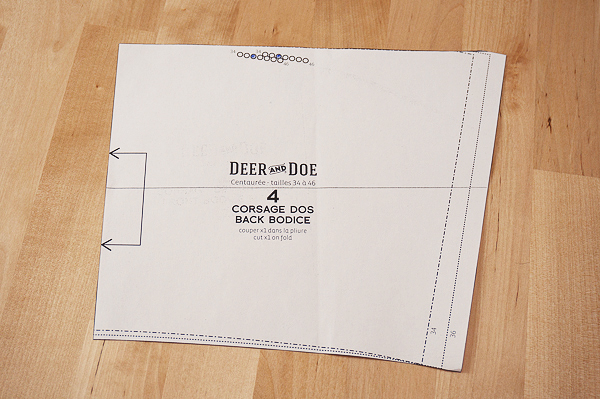
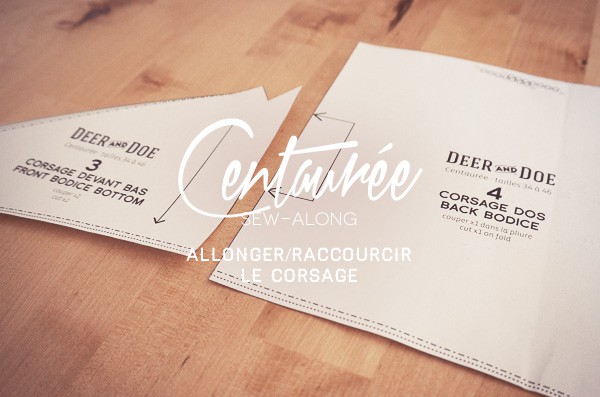
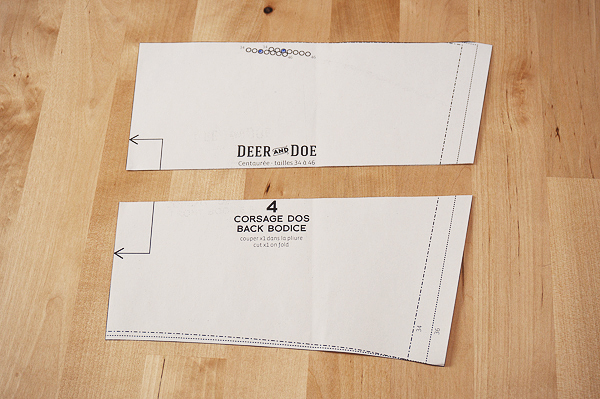
Finally, you need to modify the back bodice, because our FBA added some length to the front. Trace a line perpendicular to the grainline along piece n°4 (back bodice), and cut along it.
Lengthen the back as much as you lengthened your bodice middle (piece n°2).
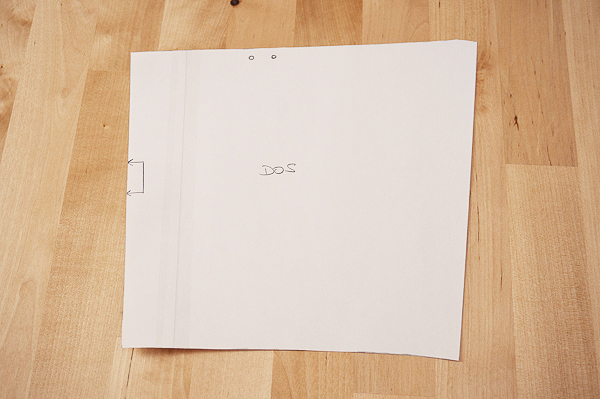
Retrace your new back piece. And voila, you finished your FBA!