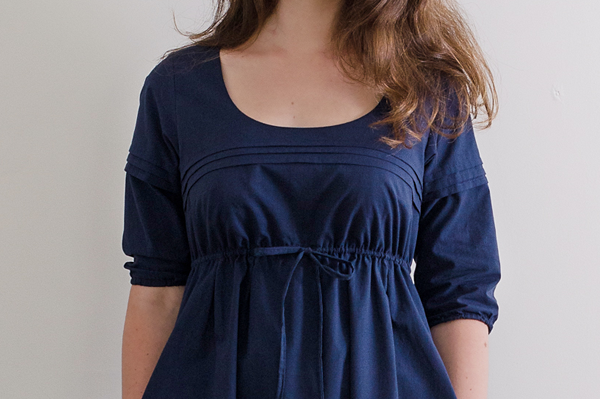
Are you a little scared of sewing tucks for the first time on Aubépine’s sleeves and bodice? Today we’ll see how to make them step by step 🙂
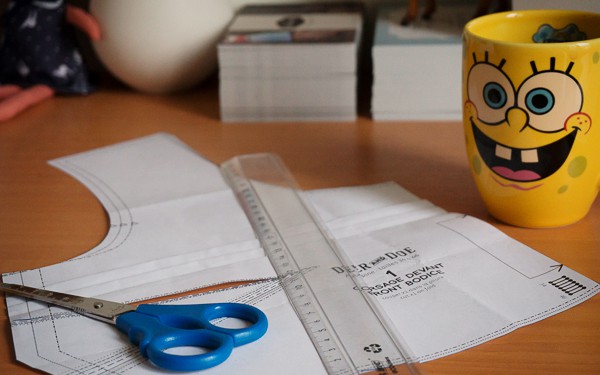
To do so, you’ll need a long ruler and something to mark your fabric precisely. I personally favor washable felt-tip pens because they are precise and don’t cause the fabric to shift when you write on it.
Warning: before you begin, make sure to test on your fabric that your pen or chalk goes away when you wash it, because the marks will be done on the right side of the fabric!

Fabric: Les Trouvailles d’Amandine Batiste
After cutting out your bodice and sleeves, place them flat with the right side up and iron them carefully. Mark the ends of the fold lines on each side.
With your ruler, draw lines linking the marks on the left side to the marks on the right side one-to-one (be careful not to mix them up!).
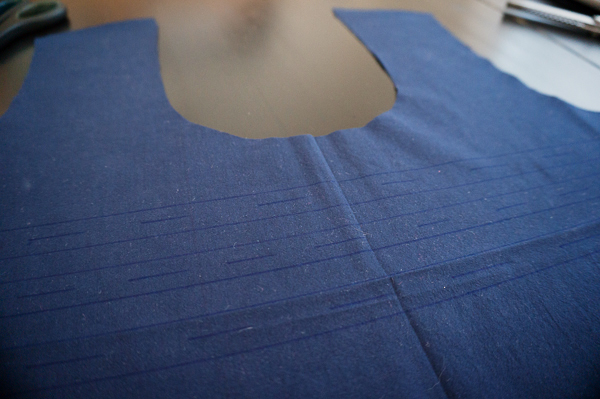
Use the same norm as the pattern: solid lines for the tuck edges, and dashed lines for the tuck centers. This will help you when you have to pin them.
If your fabric is very drapey or shifty, this step will be the most delicate. To make things easier, you can pin your fabric on a thick clingy fabric like a wool or velvet.

After drawing the lines, pin the first tuck. Always start by the bottom one, it will be easier to sew the other ones next!
Fold the fabric along the dashed line, then pin carefully along the solid line.

Now that the fabric is pinned, it’s time to sew the tuck. Use a longer stitch (I usually topstitch with a stitch length of 3 to 3.5mm), and always sew your tucks with the visible part of the stitck facing you (the fabric will be folded so that the back of the stitch won’t be seen). The result will be straighter and neater.
You can use thread the same color as your fabric (if your fabric has a pattern on it, use the dominant color) or a contrasting thread for more visual interest.
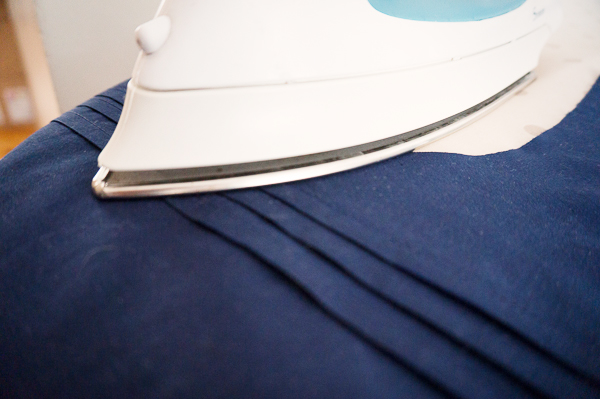
Once the tuck is sewn, press if downwards before starting on the next one! Press your piece one last time once you are done with all the tucks: it’s easier to do it now than once it is assembled to the rest of the dress 😉