Gathering fabric is one of the essential techniques in sewing.
By bunching part of a piece of fabric, gathers create volume. They are used to give more flare to a skirt (Centaurée), add ruffles (Myosotis), or even replace bust darts (Sureau).

But gathering fabric requires patience and precision, and can scare away beginner sewists. Many of us share bad memories of gathering threads breaking right in the middle of a tiered skirt or petticoat… So let’s go through three techniques that will give you pretty and even gathers, without breaking a sweat!
Technique #1: gathering threads
The most common technique to gather fabric is to use gathering threads. This is done by running one or more basting lines along the edge of the fabric, on which you then pull so that the fabric bunches up on the threads, until its width matches the width of the other fabric piece on which you want to sew it.
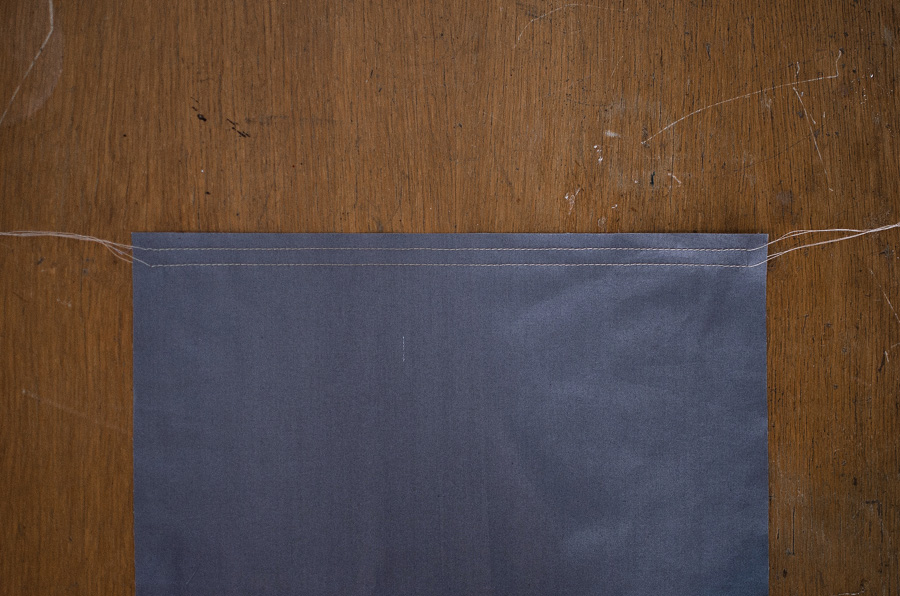
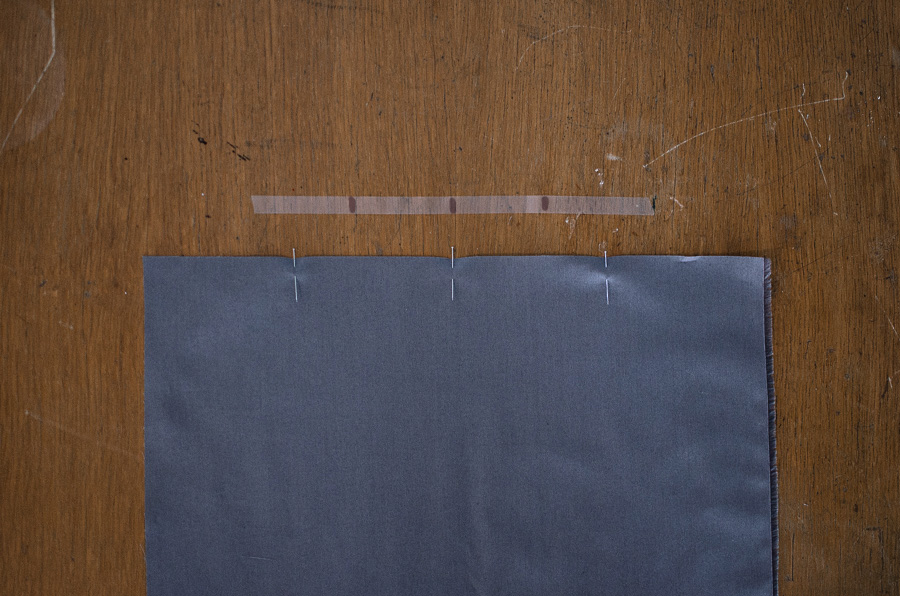
To run the gathering threads, set your sewing machine to a long straight stitch (3.5mm at least), and stitch a first line 3/8” from the edge, without backstitching. Leave at least a couple inches of thread hanging loose at each end of the seam. Stitch a second parallel line, 7/8” from the edge. This way you’ll end up with a gathering thread on each side of the seam line (5/8” from the edge), which will help you get more even gathers than you’d have if both gathering threads were in the seam allowance.
Before you pull on the threads, mark the center and quarters of the piece using chalk or an erasable marker.
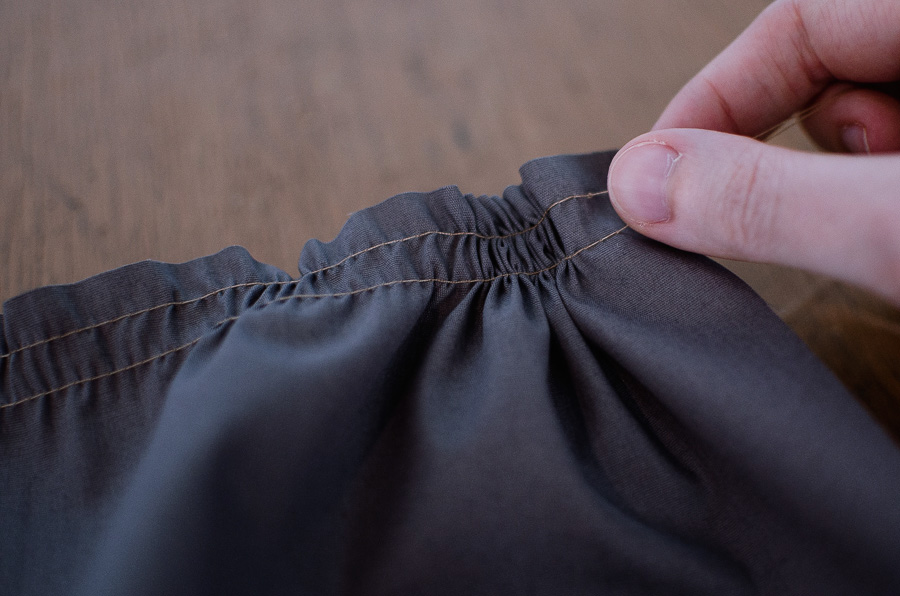
Grab both bobbin threads on one side of the piece, and pull to slide the fabric along the threads. Pull slowly, and alternate pulling from one side of the piece then the next. Take your time and slide the fabric with your hand along the threads rather than pulling harder if you feel resistance.
Once the width of the piece matches the width of the smaller one, stop the threads with a knot or by winding them around a pin in an “8” shape.

Mark the center and quarters of the smaller piece, and pin both pieces right sides together, matching the marks. Slide the fabric along the threads to distribute the gathers, making sure the amount of gathers is the same between each pair of pins.
Stitch both pieces together between the two gathering threads, then remove them using a seam ripper. One last tip: if your gathers still don’t look neat enough for your taste, try using a third gathering stitch just next to the seam line.
Technique #2: serger
If you’re lucky enough to own a serger, you’ll love this super fast technique! Unlike the gathering threads method where you start with a flat piece of fabric and gather it little by little until you reach the desired length, here you first create very dense gathers, then loosen them up little by little until the width of the gathered piece matches the piece to which it’ll be sewn.
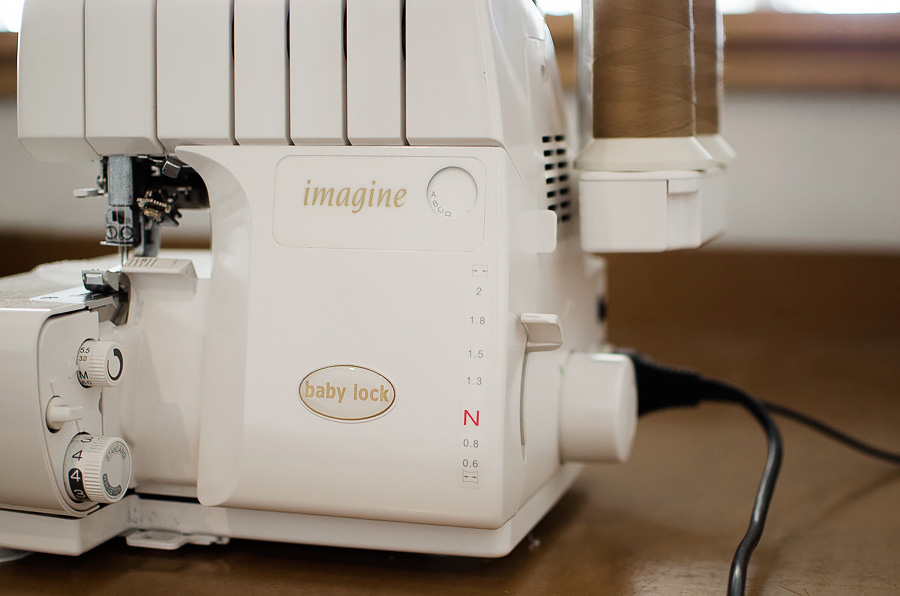
To do so, change your serger’s settings as follows:
- increase the stitch length as much as possible
- set the differential feed ratio as high as possible
- increase the tension of both needle threads (around 8)
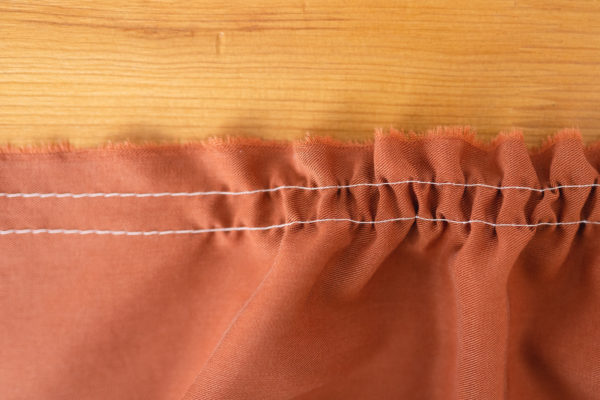
Test your serger on fabric scraps as you go to tweak the needle threads tension until you get a good result, similar to the picture below. Once you’ve found the right settings, simply serge the entire edge of the piece.
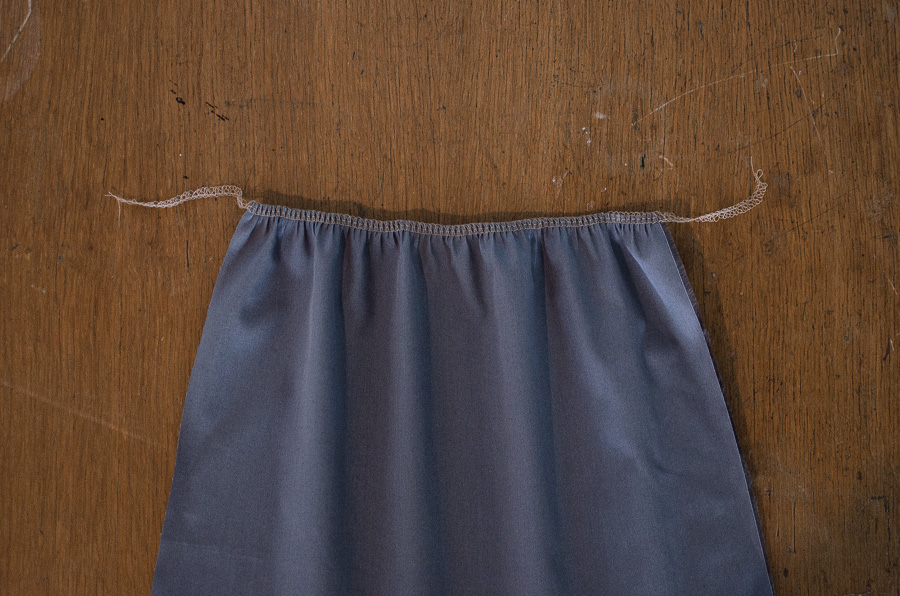
To assemble the gathered piece to the non-gathered piece, mark and pin the center and quarters of both pieces, as with the gathering threads method, then distribute the gathers by loosening them little by little. Important: if you have cut the edge of the first piece while serging the gathers, remember to trim the second piece by the same amount (for instance by serging it with your normal settings) and modify the seam allowance (3/8” instead of 5/8”)!
Technique #3: clear elastic
This last technique is particularly adapted to gathering knit fabrics, like for instance on the maternity version of the Givre dress, but also works on woven fabrics!
Cut a length of clear elastic of the width of the smallest fabric piece (the one to which you’ll sew the gathered piece), leaving an extra inch or so on each side that’ll help you hold on to the elastic as you sew.
To prepare the elastic, pre-stretch it a few times, then use a sharpie to draw marks corresponding to the edges of the small piece, as well as the center and quarters of its length. Mark the center and quarters of the larger fabric piece using pins. Do not pin directly in the clear elastic, as this might cause it to rip.
Place the elastic under the presser foot, and lower the needle so it goes through the first mark (corresponding to the edge of the fabric). Raise the presser foot to place the larger piece of fabric under the clear elastic, wrong side facing up, with the elastic centered on the seam line. Make a couple stitches (using a normal straight stich), then pull on the clear elastic so that the next mark meets the first needle, and sew with a stretch stitch up to the mark, carefully stretching the elastic from both sides. Repeat for the next three marks.

To assemble the two pieces of fabric, you simply have to match the sharpie marks on the elastic with the center and quarters of the small piece; no need to distribute gathers this time! Once you have stitched the two pieces together, just rip the clear elastic off.
With these techniques you can now tame the ruffles of the Myosotis dress!
5 commentaires
Catherine Parkyn, June 17 2018
Love gathers so can’t wait to try your brilliant methods
Very well explained
Thanks
Catherine
Mary, July 5 2018
There’s another way to gather fabric that you left out. Mark your fabric as you would with any of the other techniques. Sew a wide zig-zag over a thin piece of cord or thick thread, making sure not to catch the cord in the stitching. Match the markings and then to gather the fabric, pull the cord, alternating sides like you would with the first technique. You have less chance of breaking threads than with the first method.
Camille, July 9 2018
Thank you for your comment, Mary, this is a great technique as well! I’ve heard that you can even use dental floss instead of cord to do gathers this way, but I’ve never tried it myself.
Elle C, July 5 2018
I love the clear elastic idea! I have always HATED gathering because the perfectionist in me can’t bear the randomness. Now I won’t have to. Thank you!


Beck, June 8 2018
Thanks for this post! I’ve always known that it is theoretically possible to use my serger to gather but didn’t exactly know how. This seems so easy! I will definitely give it a try when the fabric for my Myosotis dress arrives!!!