Welcome to the first day of the Centaurée Sew-Along! Thank you for joining me to sew the Centaurée dress together. Of course, don’t forget to add the Sew-along banner to your blog, and don’t forget to spread the news, because the more, the merrier 😉

Today, we’re going to start by choosing our size from the size chart, and make a muslin of the dress to determine if we need modifications.
A word on morphologies
As you surely already know, Deer&Doe patterns are especially designed for an X-shaped woman (small waist, generous bust and hips) and for a C/D cup size bust. But it’s important to remember that every morphology is unique, and even though you don’t correspond to this standard, you won’t necessarily need to make modifications.
Don’t ever embark into any modification (SBA, FBA, arched shoulders or back…) before you made a muslin of the garment in your corresponding size. Sometimes, you might think you need a SBA, or to modify the shoulders, whereas you just need a smaller size at the bust!
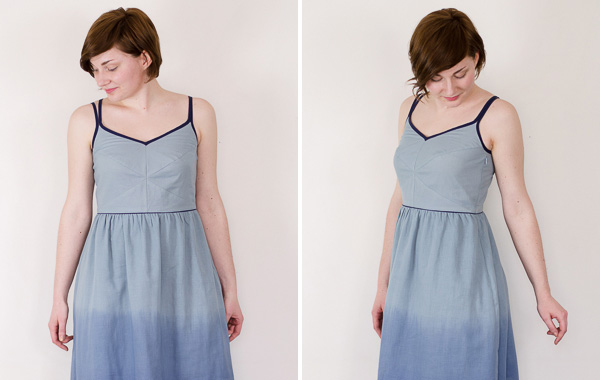
To illustrate my words, here are tho photographs of the Centaurée dress made in a size 38 bust, 38/40 waist and 42 hips, worn by Marion on the left and by me on the right.
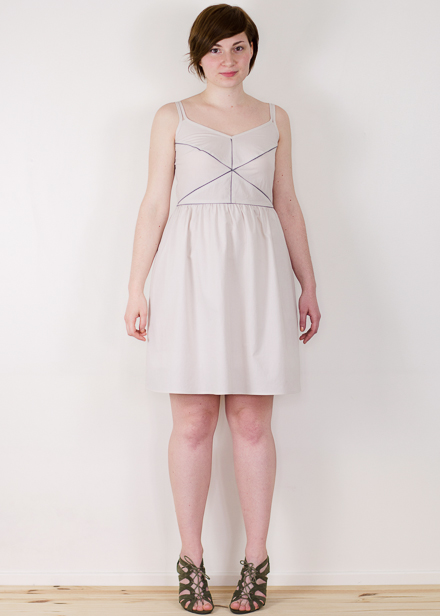
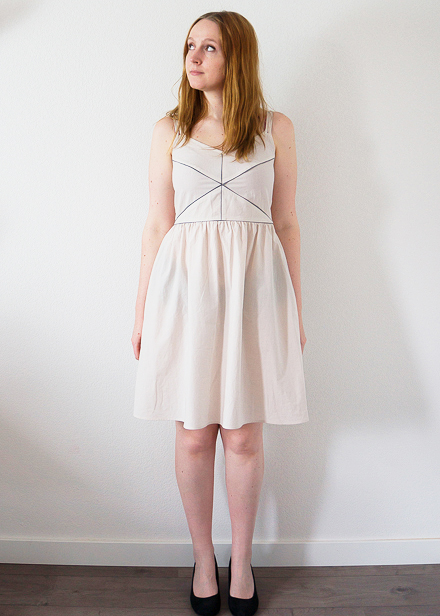
Marion and I have have exactly the same size, but have very different morphologies: Marion has a B cup, a rather large back and a high bust. With the same measurements, I have a D/E cup with a small back, and a classic bust height. You can also observe a different hip shape, with a more pronounced distribution on me. And even so, the dress fits both, even tough the visual effect is a bit different!
Sewing the muslin
To make your muslin, use a fabric of the same type as the one you’ll use for your dress (batiste if you’re going to use batiste, voile if you’re going to use voile, etc.). In fact, fit changes according to thickness, but also stiffness and elasticity… of the fabric you use! Likewise, if you think you will line your dress, you will also need to line your muslin 🙂
Cut all your pieces (or at least the bodice pieces) following the cutting layout (even though it’s just a muslin, you need to respect the grainline!). Baste them with a long stitch following the steps in the booklet, and install a zipper on the side (using a long stitch as well). Installing the zip rather than pinning it ensures more precision; I promise you will thank me later 😉
Cut the straps in ribbon, using the length corresponding to your size (the chart is at the end of the booklet), and fix them to the bodice before you try it on: trying the bodice on without straps is useless, because they balance the garment.
Now it’s time to try you muslin on! In the front, the waist seam needs to be straight and the oblique seams need to pass above the bust apex (not under). On the side, the side seam needs to be nice and vertical, the waist seam horizontal, and there mustn’t be lines and folds in the bodice (in that case, add or decrease the length of the straps until the lines disappear, then note down this length).
If your muslin fits perfectly, you’re ready to go! Next week, we’ll start covering the steps of construction in video. For everyone else, I’ll see you on Friday to start exploring pattern modification!
- Friday, May 23rd : tracing the bodice pieces in multiple sizes
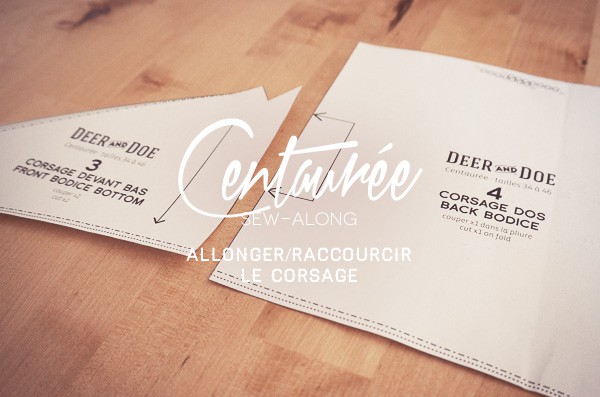
- Saturday, May 24th : lengthening or shortening the bodice
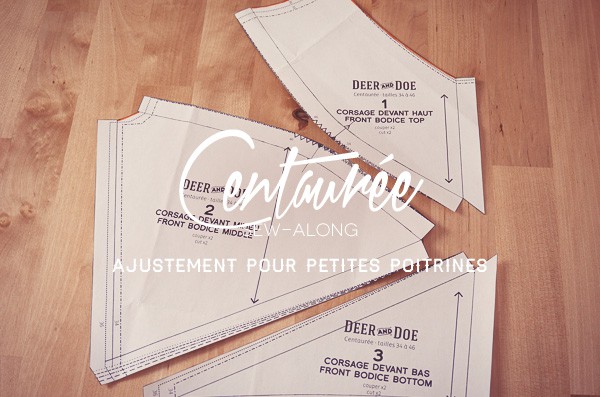
- Monday, , May 26th : SBA (small bust adjustment)
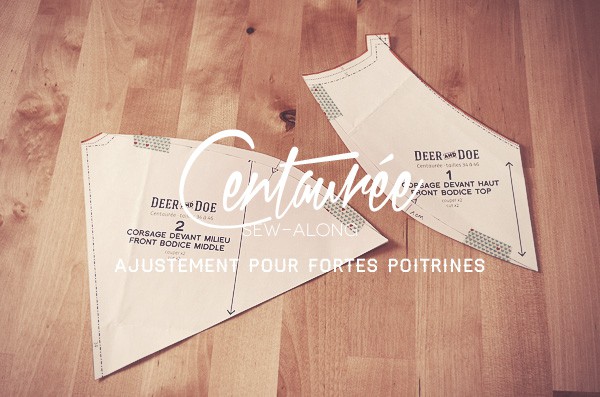
- Tuesday, , May 27th : FBA (full bust adjustment)