After the holidays, your budget might be too tight to buy the latest sewing gadgets. Well scratch that, because you don’t need fancy tools to sew!
Many everyday objects can double up as improvised sewing tools. In the Deer&Doe workshop, we’ve tried everything we could get our hands on, from tuna cans used as pattern weights to customizing our machine with masking tape to mark seam allowances. Today we’re sharing our favorite tips, each of them tried and true 😉
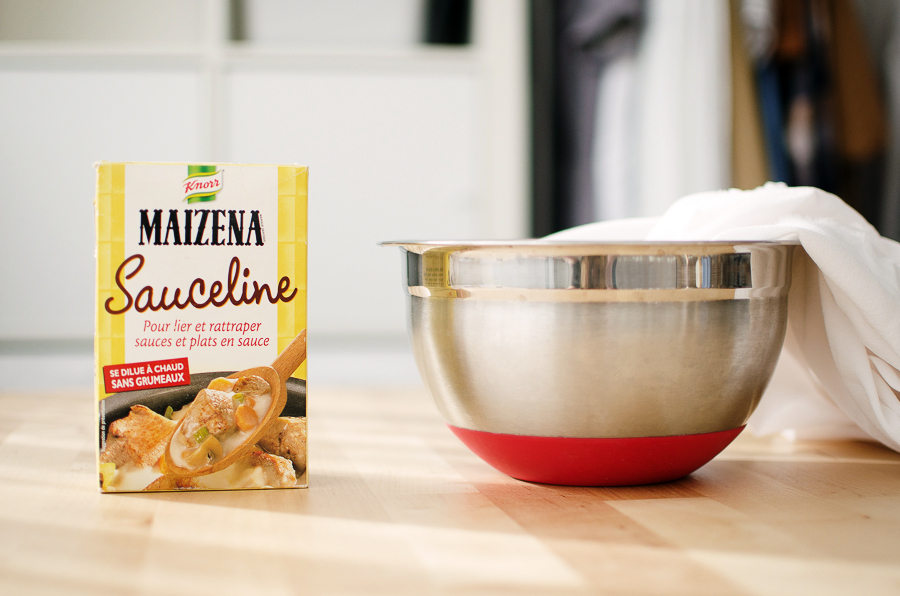
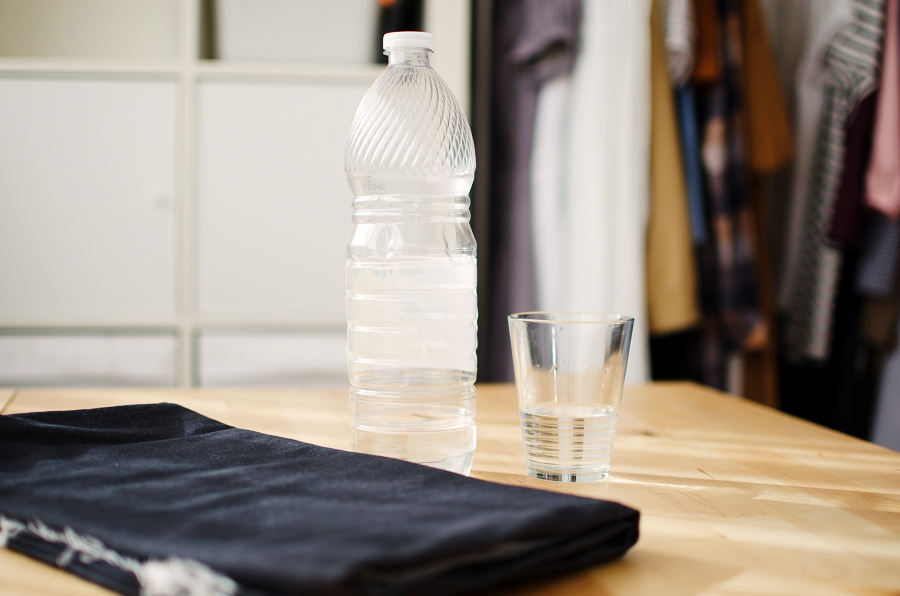
Gelatin and corn starch to stiffen slippery fabrics
Ironing aids, such as Glide or Faultless, can be found in most supermarkets and craft stores and they are very useful to sew rayon or silk. Just spray it on the fabric and iron, and slippery fabrics become as well-behaved as cottons! But did you know you can actually achieve the same effect using ingredients from your kitchen cabinets?
Gelatin-based preparation:
- Put 3 teaspoons of powdered unflavored gelatin, or 4 sheets of leaf gelatin, in one cup of room-temperature water.
- Let the gelatin soak for 30 minutes.
- Transfer to a small pot and bring the water to a boil (do not boil).
- Pour 3 liters (0.7 gallons) of cold water in a bucket, and add the gelatin. Stir.
- Soak your fabric in the preparation for one hour.
- Carefully squeeze out the water, then hang your fabric up to dry.
- When the fabric is dry, iron it flat (no steam).
Starch-based preparation:
- Add 4 tablespoons of corn starch to 4 cups of warm water.
- Heat the preparation and stir continuously until the paste stiffens.
- Pour 2 more liters (0.5 gallons) of cold water in a bucket and add the paste. Mix thoroughly.
- Dip your fabric in the mixture (no need to let it soak).
- Squeeze off the excess carefully, and hang the fabric up to dry.
- When the fabric is dry, iron it flat (no steam).
Once you have finished sewing your garment, you just need to rince the mixture off and let it air dry and your fabric will go back to its original drape!
Vinegar to set fabric dye
Another cupboard item that can tame fabric: white vinegar! Soaking your fabric with a little vinegar before washing it for the first time will help lock its colors in. This is especially useful for fabrics that tend to bleed a lot, such as denim. Just add half a cup of white vinegar in a bucket of cold water, and let your fabric soak in for 30 minutes before putting it in the wash.
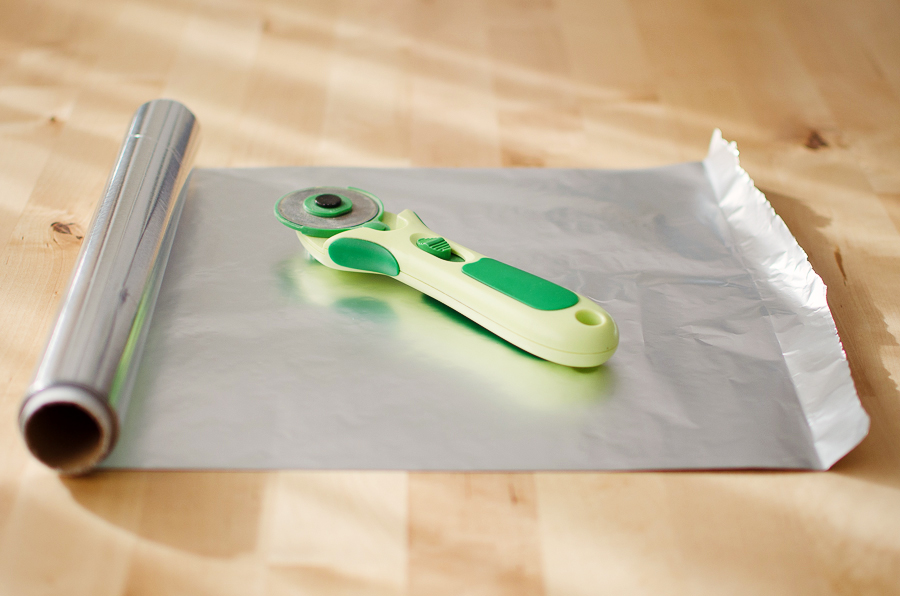
Aluminum foil to sharpen rotary cutters and scissors
While you are in the kitchen, grab a roll of aluminum foil to sharpen your cutting tools! If your rotary cutter’s blade is dull, instead of changing it right away, try this technique: take a long sheet of foil and fold it several times on itself, until you have at least 8 layers. Place the foil on your cutting mat and roll your rotary cutter on it, several dozen times. Try it every so often on a scrap of fabric: you should notice a clear improvement! This works just as well with fabric scissors 😉
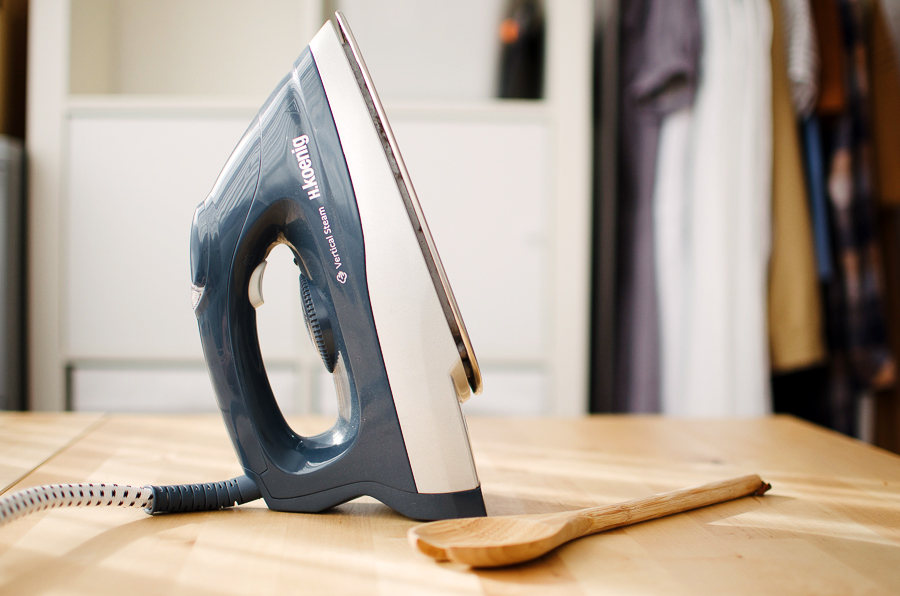
A wooden spoon to press seams open
Last but not least in the kitchen series, the infamous wooden spoon! To press open the shoulder seams of a lined sleeveless top, such as the Datura blouse, slip the handle of a wooden spoon between the layers and use it as a pressing tool.
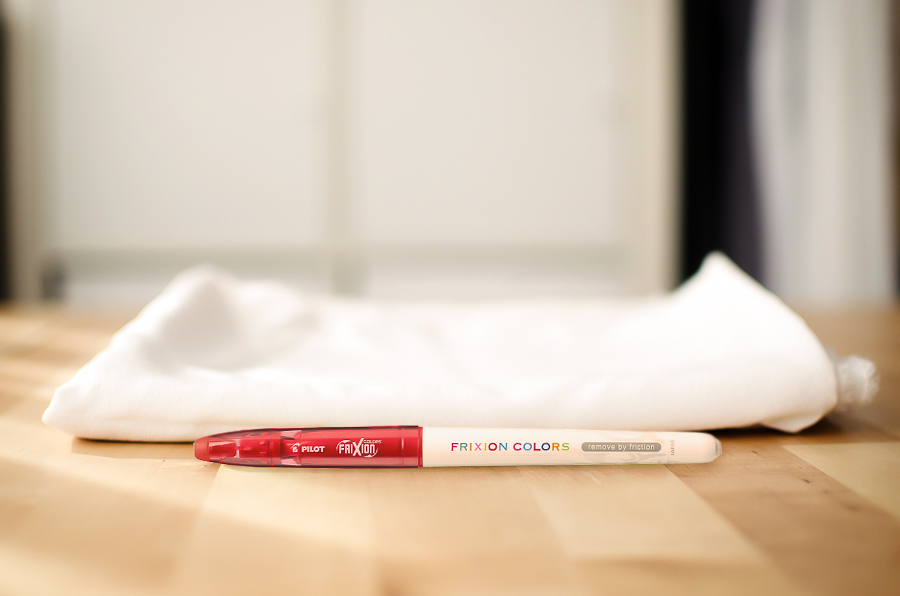
Heat-erasable felt-tip pens to mark light-colored fabrics
My favorite improvised tool might be in your kids’ backpack: Pilot FriXion felt-tip pens! These magical markers disappear with the heat of an iron, and can be used to mark fabric very clearly without leaving any trace afterwards. You can find them in most supermarkets and they come in plenty of colors. Try the felt-tip pens rather than the rollerball gel-ink ones as they will glide on fabric better, and don’t forget to try it on a swatch beforehand!
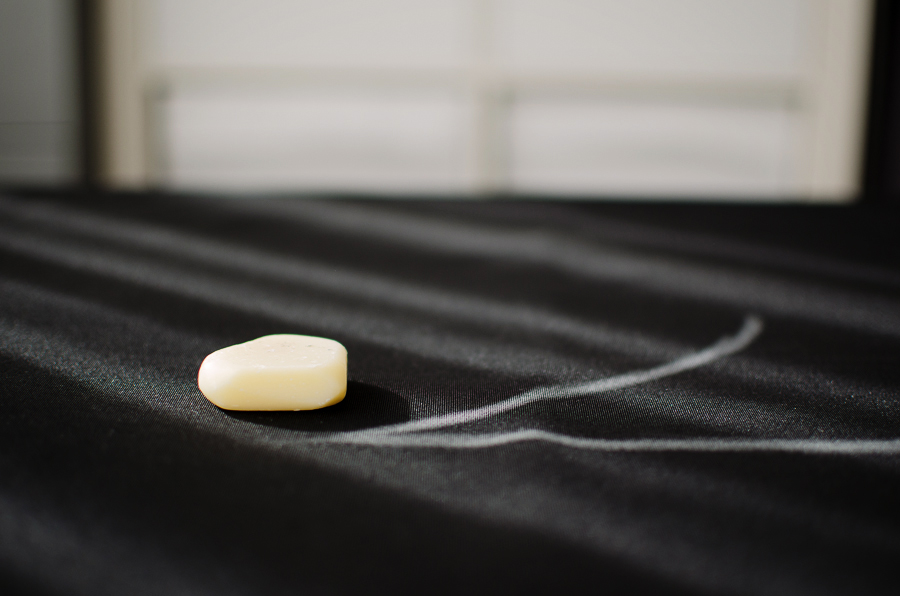
Soap to mark dark-colored or shifty fabrics
How about black or navy fabrics, on which you can’t really see felt-tip pen lines? In this case, do like Eléonore and mark your fabric with soap! Soap is very visible on dark colors, glides smoothly on the fabric and goes away in the wash. Carve your soap bar to get a thin edge, or use tiny soap bars like the ones you find in hotels 🙂
Now it’s your turn to raid your cupboards for sewing tools! Do you have other tips to share?
9 commentaires
Camille, January 25 2017
That is such a great tip, thank you for sharing! 😀
Marit Olsen, February 1 2017
This is great tips. 🙂
But I have a little warning for the “Pilot FriXion felt-tip pens” The lines dissapair with the heat of an Iron, But if the work later on is put to cold, as freezing degrees, the line will come back, so be wear of that. It will go away after washing sometimes, but not så great if they come wisible while you are in skiholiday or som other cold place 🙂
Cathy, February 1 2017
I’ve used white chalk to mark dark fabric. When my children were little they knew where to come and get chalk when they wanted to draw on the driveway.
Ruth Clarke, February 2 2017
I use the corn starch but I don’t soak and then dry, I spray the fabric and then iron. I use about 1 teaspoon of starch to a 500ml spray bottle. Mix the starch powder with a little hot water, mix and when powder is all dissolved, then top up with cold water. I also add a few drops of surgical spirits (available from a chemist) to help preserve the starch liquid in the spray bottle. Test the amount of starch powder – if you want the fabric really stiff, then increase the 1 teaspoon to 2 or more.
Lorna, February 2 2017
Fantastic tips, both in the post and from readers. Thanks all!
Clelia, February 3 2017
Any idea if manioc or potato starch would work as well as corn starch?
Camille, February 6 2017
A couple readers on the French blog suggested potato starch, or even rice starch (directly using the rice cooking water) as alternatives to corn starch. I haven’t tried it personnally but they say it works 🙂
Carolyn B, February 5 2017
I use Frixion pens all the time for light colours but beware – whenever I have tested a sample of teal-coloured fabric, the markings have left a “bleached” mark. This has happened for me on every green/blue fabric I have tried which is a bummer ’cause that’s my favourite colour 🙁


Caitlyn, January 25 2017
Bookmarked for future reference! My favorite go-to cupboard item is masking tape for marking grainlines on knits. I like to take a piece of tape several inches long, line up the edge with a column of knit stitches, then lay out my pattern pieces accordingly. The tape acts as a guide for folding precisely along the grain if you like to cut on the fold, and colored tape shows clearly through tissue patterns or tracing paper if you prefer to cut on a single layer like I do. Plus, you can write the name of the pattern piece or other information directly on the tape, which reduces the chance of confusing front and back pieces or forgetting which side of the fabric is the right side. Unnecessary extra work for some, I don’t doubt, but a real sanity-saver for me!