Slippery fabrics like silk and rayon are the perfect match for many beautiful patterns, including our latest pattern Coquelicot. They drape wonderfully, have a cool hand feel, and come in a wide variety of prints. However, they can be notoriously tricky to sew with, and many sewists will avoid them for fear of potential headaches. The good news is sewing with these fabrics can become easier with patience, practice, and a few techniques up your sleeve! Today we will share how (and why!) to prewash silk, as well as some tips for cutting and marking shifty fabrics.

Prewashing
As with most fabrics, silks and rayons should be prewashed the same way you intend to wash them to prevent any unwanted changes after you’ve finished your garment. Rayon in particular can be prone to shrinking, and silk is at risk of water stains unless it is prewashed first.
Some silks will change in color, texture, sheen, or size after being washed, but many find this to be preferable in exchange for the convenience of being able to wash the garment going forward (particularly if it’s a garment that will be worn frequently). It’s especially important with silk to wash a test swatch first to ensure that you are okay with any potential changes.
Silk fabrics should be washed either by hand or on the delicate cycle in the washing machine with cold or lukewarm water. If you’re using the washing machine, protect the fabric from snags by putting it in a mesh laundry bag (same goes for the final garment). Detergent should be pH neutral and free from any enzymes that break down proteins. There are silk and wool specific options available in stores, or you can try a gentle hair shampoo.
If the silk or print is particularly saturated, make sure that the first wash is not with any other fabrics that could absorb potential dye run off. After the wash, lay the fabric flat on a towel and roll it up to blot dry it. Press the damp fabric with a dry iron on low heat to remove wrinkles and finish drying it. The silk is now ready to be used and sewn with!
Cutting & Marking
Silks and rayons are so slippery that they can be a challenge to cut accurately, but there are a few techniques you can try to make this process easier:
- Fabric stabilizers: add a stabilizing ingredient to the fabric to temporarily stiffen it and make it easier to cut and sew. This is easy to do with household items like gelatin or corn starch, and it can be washed out when you are done sewing the garment. You can also purchase pre-made fabric stabilizing sprays.
- Tissue paper: Alternatively, place a piece of white tissue paper under the fabric on the cutting surface, and another piece of tissue paper on top of the fabric. Line up the selvedge edge of the fabric to the edge of the tissue layers and tape the paper layers down. The paper will help keep the fabric flat and prevent it from shifting while you cut.
- Pins: If you are using a cardboard cutting mat or another surface that can be pinned, you can place pins directly through the pattern piece and fabric to keep both from slipping around while you cut. Try to pin towards the edge of the pattern pieces at diagonal angle to increase stability.
Whether you are using a rotary cutter or a pair of scissors, make sure your blades are clean and sharp. Rotary cutters are great because they allow you to cut without handling the fabric, but there are micro-serrated scissors available that will help “grip” fabric and make cutting easier too. Cutting silk fabric on the fold is not impossible, but it will be more challenging than cutting on a single layer. Since many silk fabrics have a sheen, it’s best to use the nap cutting layout.
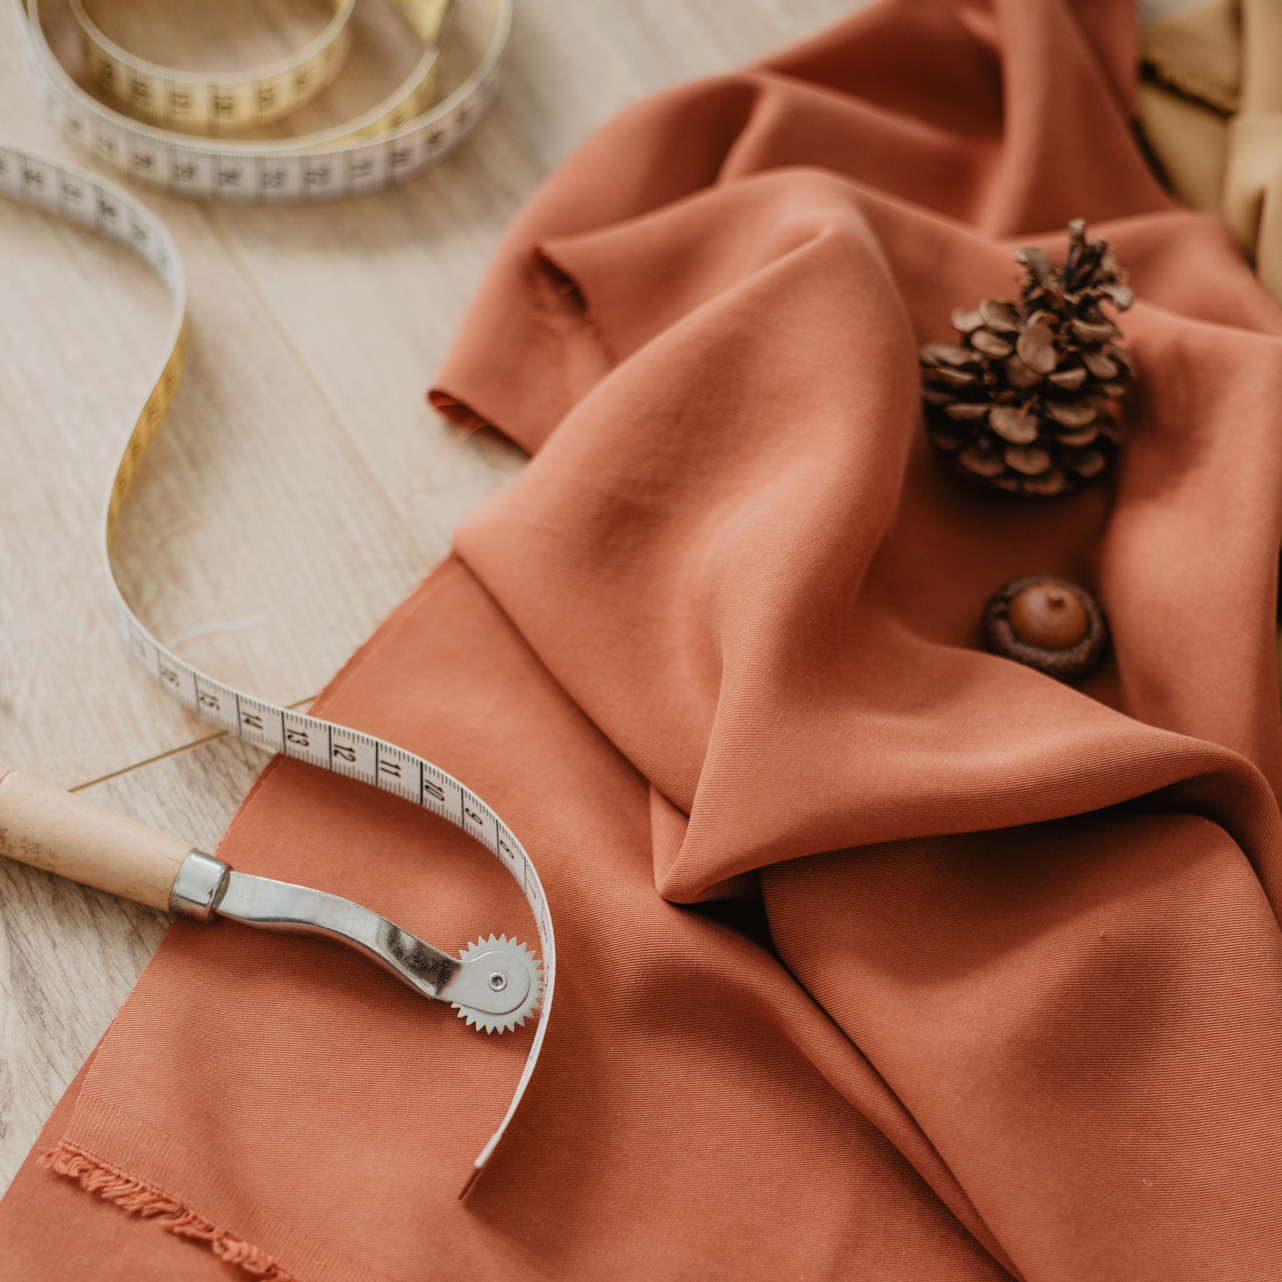
As for marking tools, less is more with delicate fabrics. Thread tracing and tailor’s tacks are ideal, but other marking tools can be used as long as they are tested first. Fabric pens and markers in particular may behave differently with silks, so make sure to test how they bleed and whether they will wash out. Skip the carbon paper and serrated tracing wheel, which can leave marks and snag delicate fabrics. Depending on the silk, a smooth edge tracing wheel without the carbon paper can be effective.