Shirring is one of these things that brings up a lot of memories. Mostly about these dresses you had as a child and that were always just a tiny bit scratchy 😉
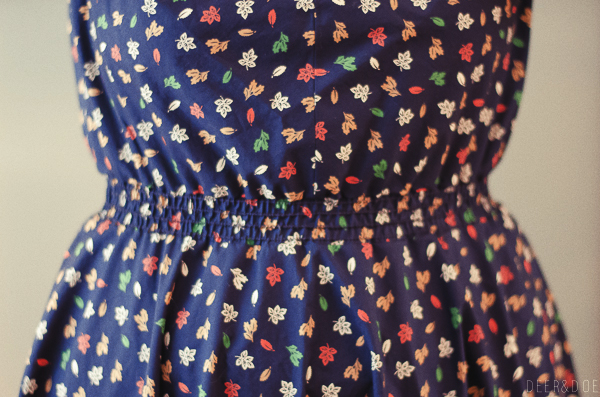
Still, shirring can be a cool way to make an elastic waist on a dress! Today we’ll see how to replace the elastic in Réglisse’s waistband with shirring, for a more subtle result.
There are two methods to do shirring. One uses elastic thread in the bobbin (here’s a great tutorial for this method) and the “Burda” method which we’ll present today.
Start by cutting out the waistband. For this version you’ll only need two because you won’t need to line the waistband. Stitch the side seams, right sides together, then finish the seam allowances and press them open.
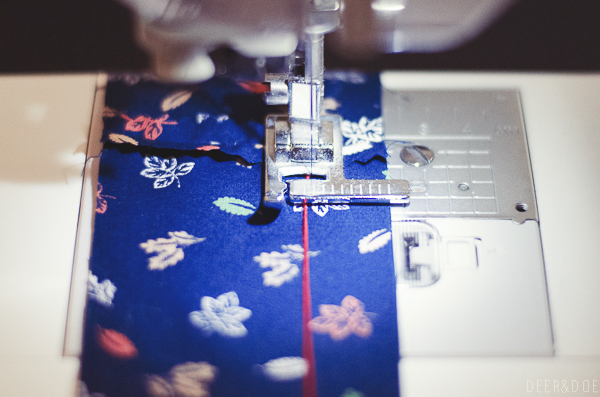
Place your elastic thread a little more than 3/8” from the edge of the waistband, on the wrong side. Select your machine’s zig-zag stitch and start stitching slowly so that the elastic thread gets caught inside the stitch (do not catch it in the stitch!). Pull slightly on the elastic thread as you go along: you’ll see the shirring appear 🙂
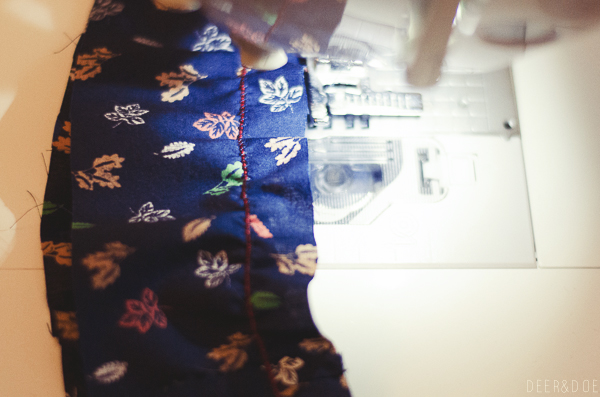
Once your shirring line is done, you can adjust it by pulling delicately on the elastic thread. Once you reach the desired effect, knot the ends together.
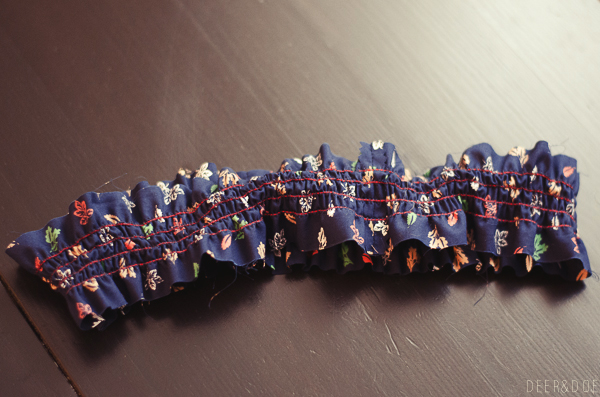
I suggest doing 4 lines of shirring on the waistband, 3/8” apart. Once you’re done with the shirring, all you need is to assemble the waistband to your bodice and skirt!