One of the technical points that give the Luzerne trench coat its tailored look is its bound buttonholes. If you find these scary, don’t worry! Follow this step by step guide and success is guaranteed 🙂
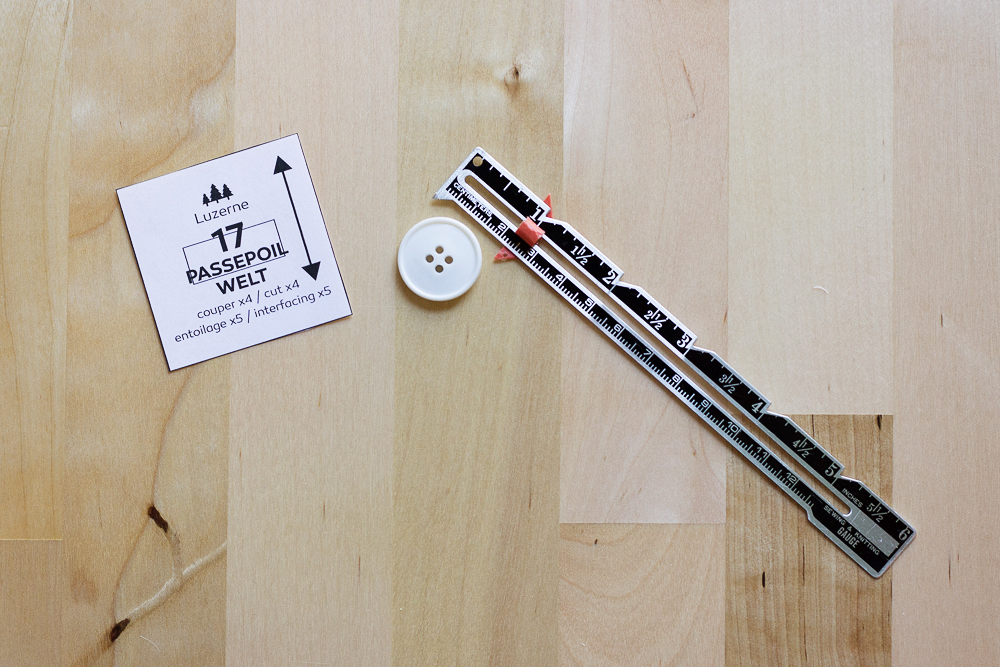
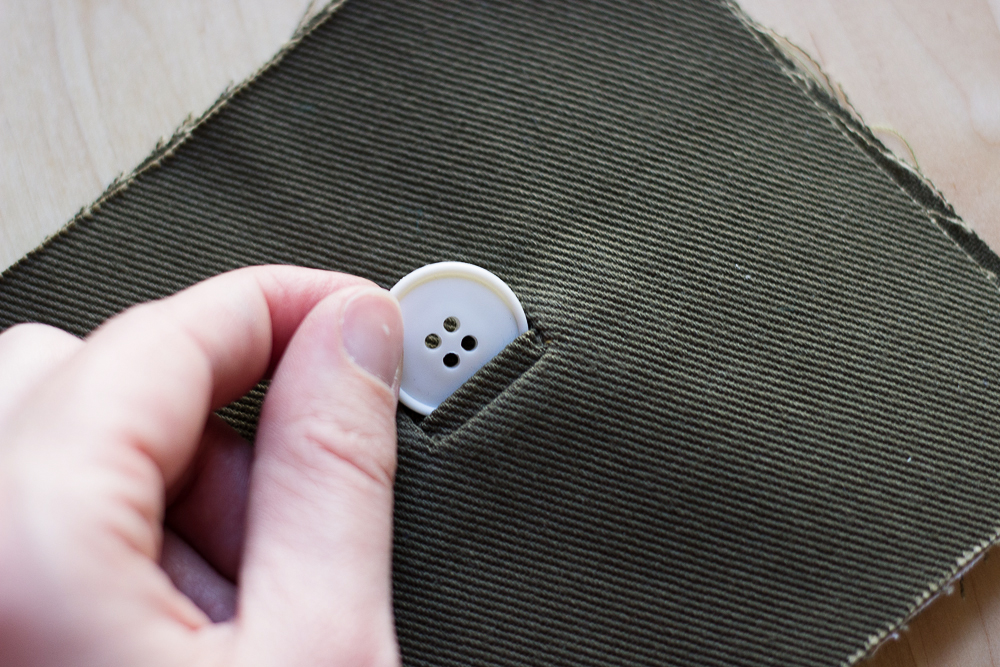
Before cutting the welt pieces, it’s important to check that the buttonhole size matches your buttons’ diameter. For Luzerne, we recommend using ¾” to ⅞” buttons. If your buttons are smaller or larger, you will have to adjust the size of the buttonholes and the welts accordingly.

Once the buttonhole size is validated, you can prepare your pieces. For each buttonhole, you’ll need: the piece that will receive the buttonhole, the facing for this piece, the welt, and a rectangle of fusible interfacing of the same dimensions as the welt.

You’ll need to apply interfacing to the buttonhole area on the main piece to reinforce it. If the pattern asks for interfacing on the whole piece (as is the case for the center front bodice of the Luzerne trench coat), apply it. If not, cut another rectangle of interfacing to the same dimensions as the welt, and fuse it to the wrong side of the facing, centering it on the buttonhole marking.
Attention: do not apply interfacing to the facing.
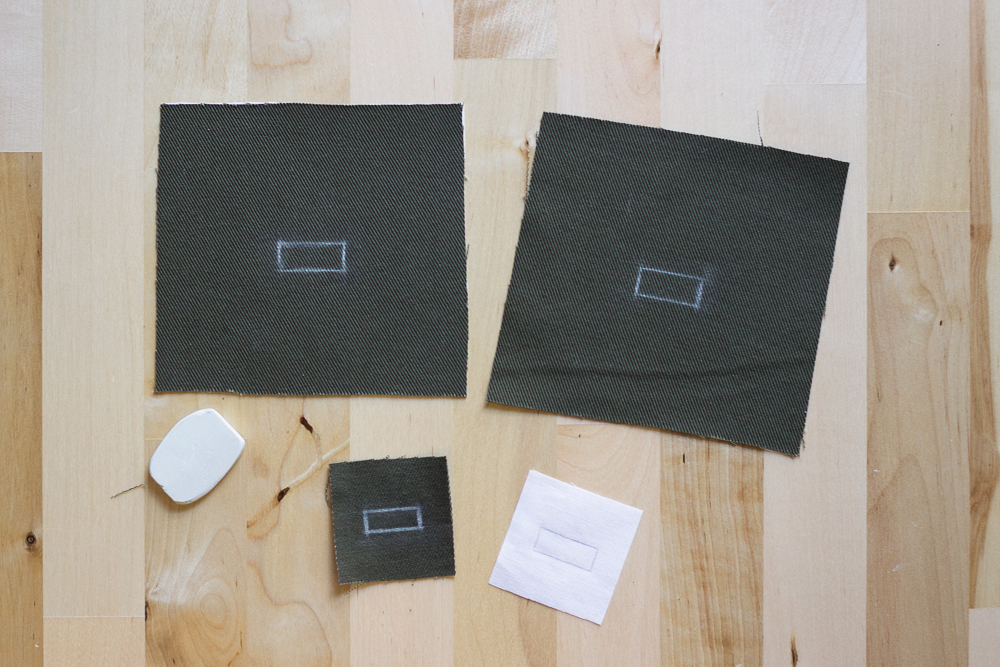
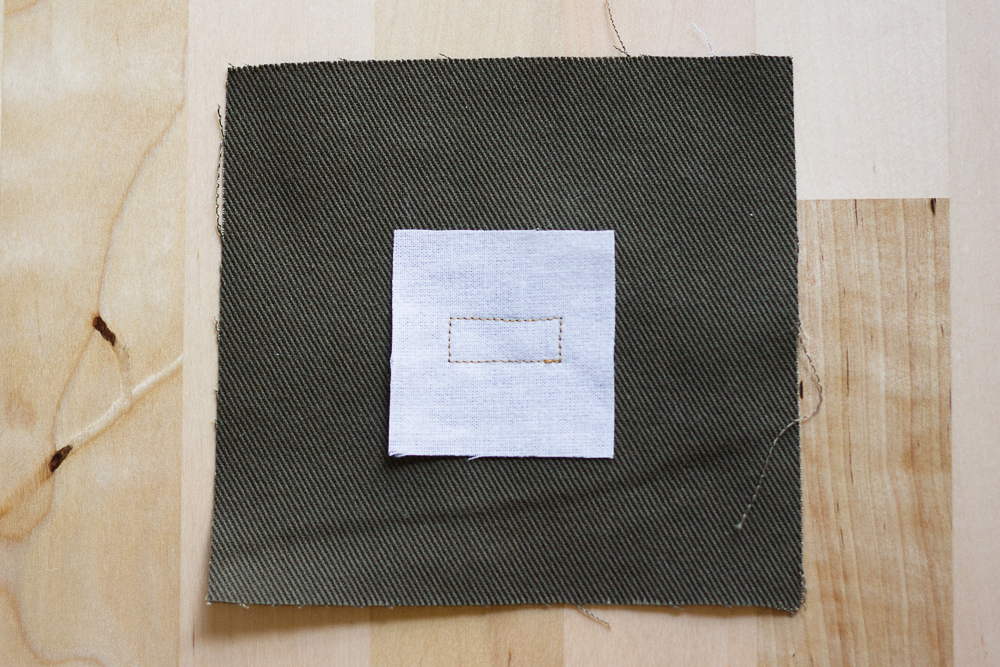
On the right side of the main fabric piece, carefully mark the rectangle indicating the buttonhole placement. Do the same on the right side of the facing. Mark the rectangle on the wrong side of the welt, as well as on the rectangle of interfacing.
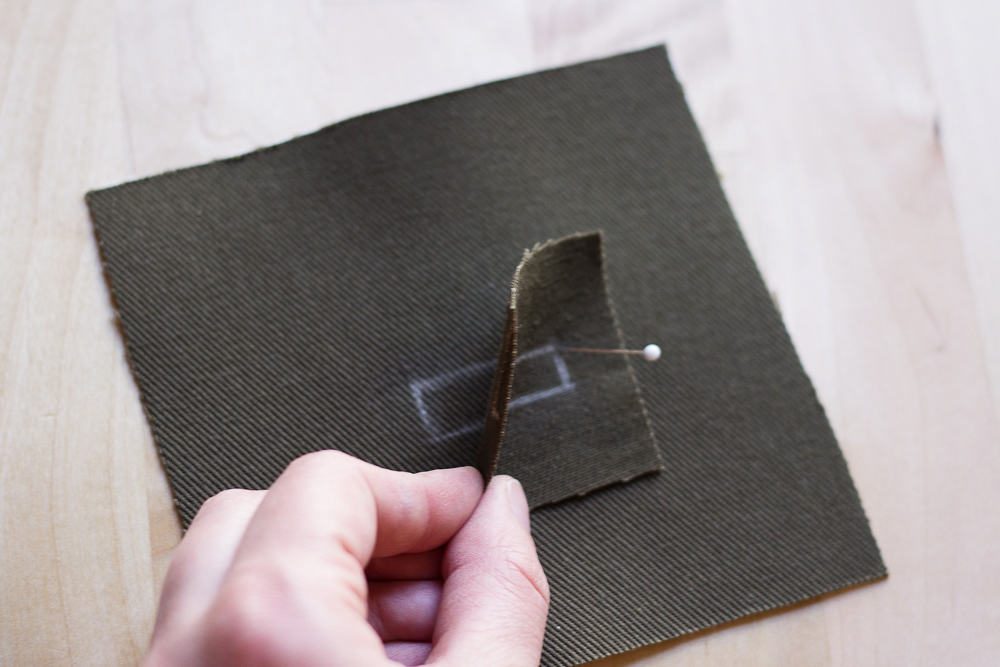
Pin the welt to the main fabric piece, right sides together, matching the rectangles.

Stitch on top of the rectangle.
Pin the interfacing rectangle, non-sticky side of the interfacing against right side of the facing. Stitch on top of the rectangle.
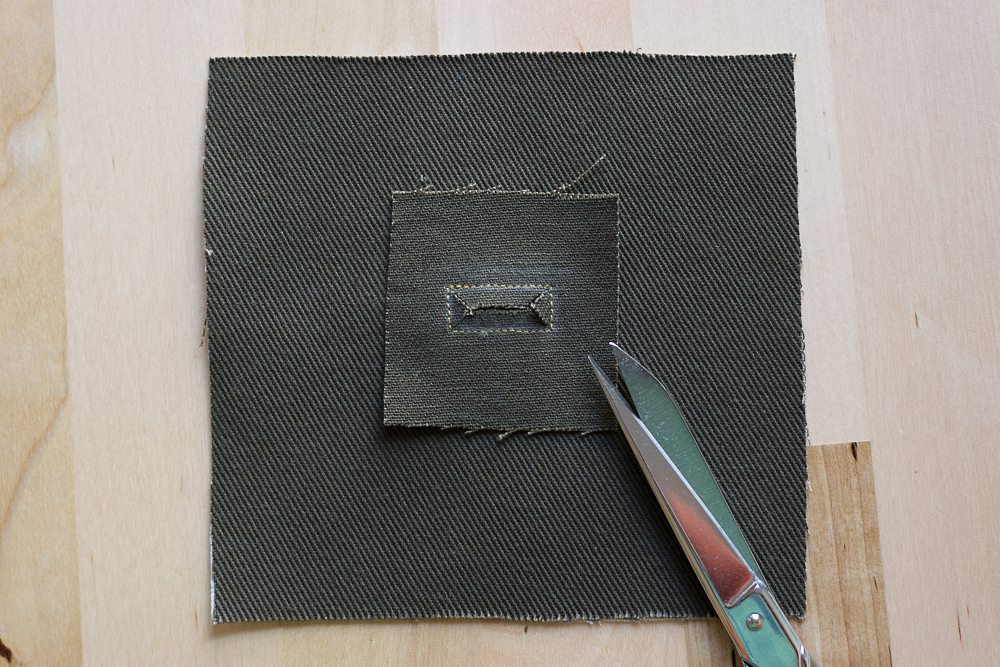
Slash the inside of the buttonhole, clipping diagonally toward each corner.
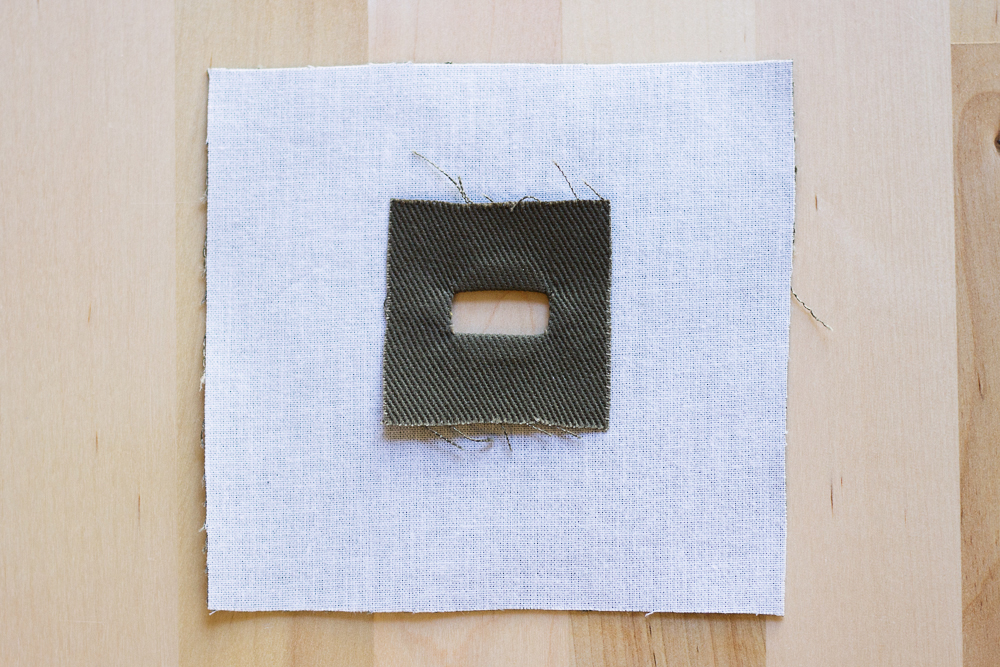
Turn the welts to the wrong side through the hole. Press.

On the facing, slash the inside of the rectangle, clipping diagonally toward each corner, and turn the interfacing to the wrong side through the hole. Press it carefully with your fingers, so that the interfacing cannot be seen from the right side, and fuse it with your iron.
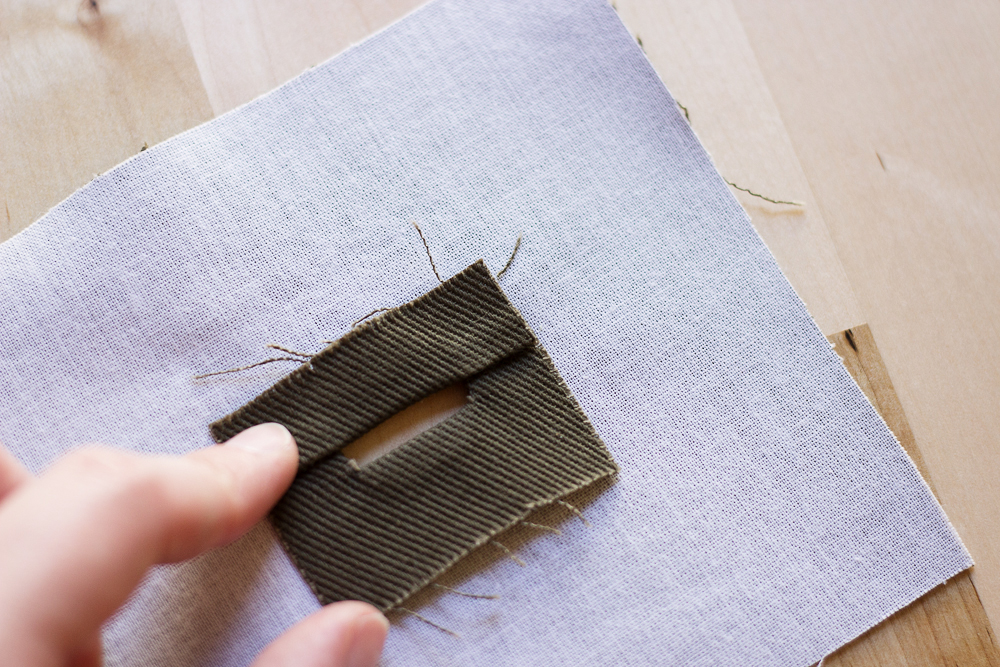
Form a first lip with the welt by folding one side as an accordion, so that half of the buttonhole is covered.
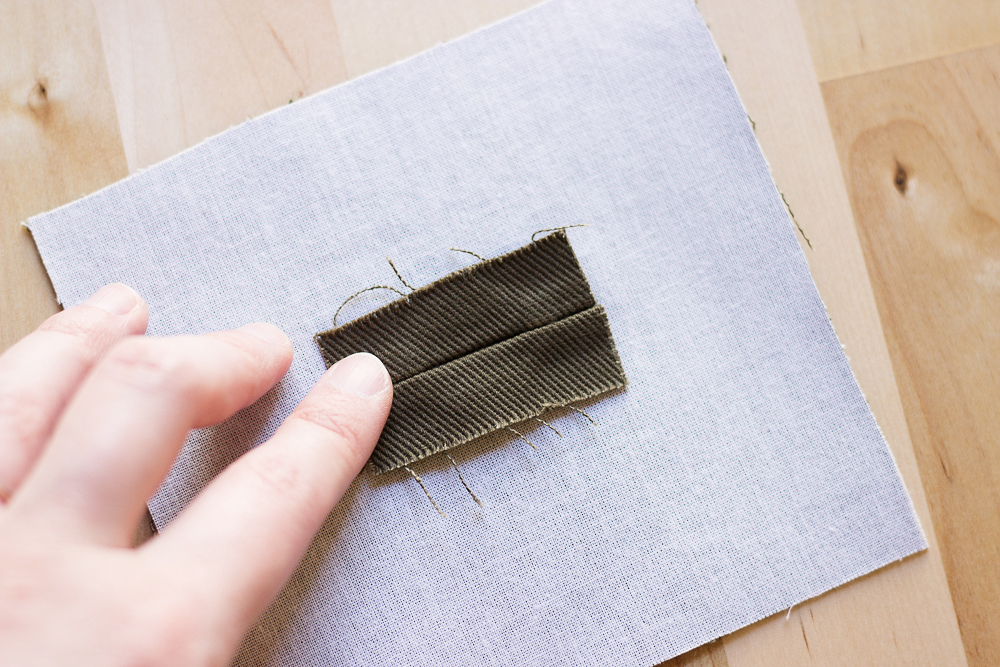
Form the second lip so that the two fold lines meet in the middle of the buttonhole. Press carefully.

Fold back the edges of each buttonhole to reveal the small triangles of fabric on each end of the welts. Stitch these triangles with the welts.
Similarly, fold back the top and bottom of each buttonhole and stitch the seam allowances to the welts.

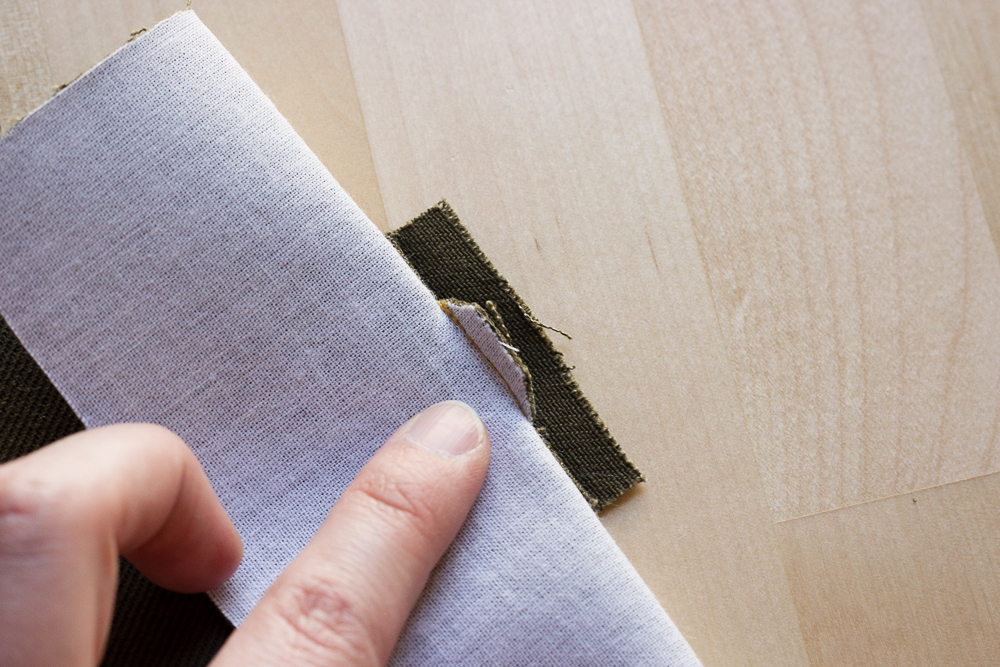
When assembling the facing, place it carefully so that the facing window matches up with the buttonhole. Slipstitch the facing in place around the rectangle.
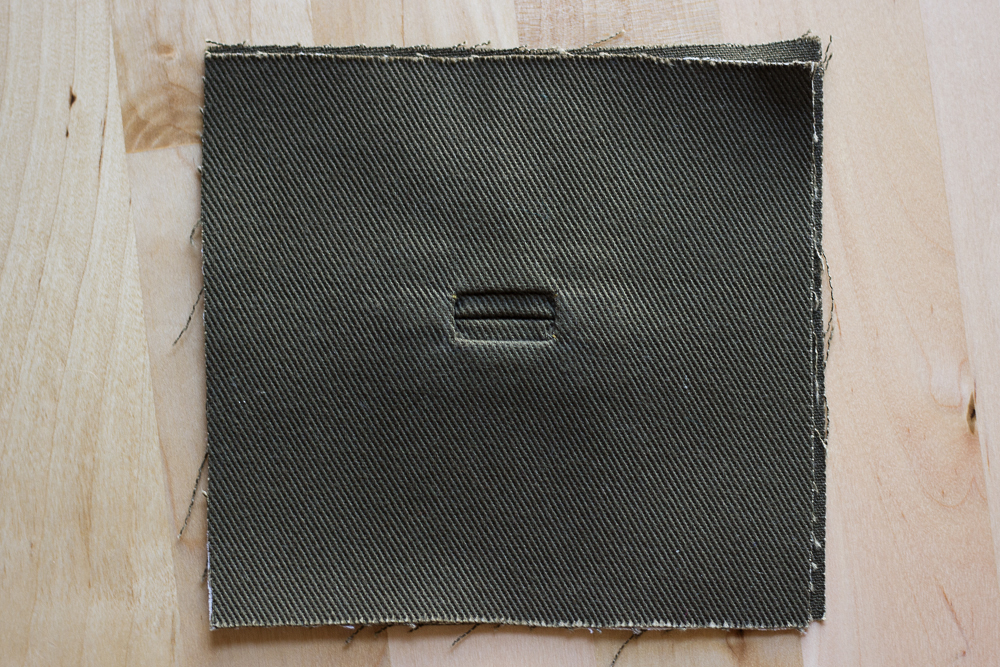
That’s it! One last tip: avoid pressing the buttonholes too much, especially on the front of the garment, as this might leave some marks on the fabric.