The tailor collar of the Opium coat is much easier to sew than it looks. Check out this step-by-step tutorial!
Sewing the tailor collar starts at step 4 in the illustration booklet, once the sleeves have been assembled to the coat. Check before you start that your pieces have been interfaced as indicated (upper collar, under collar, and facings). Let’s go!
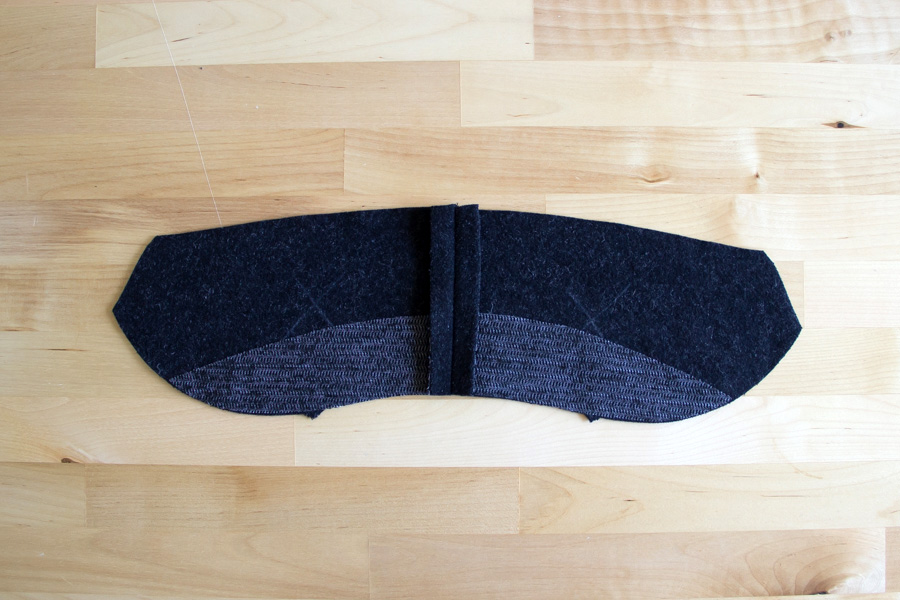
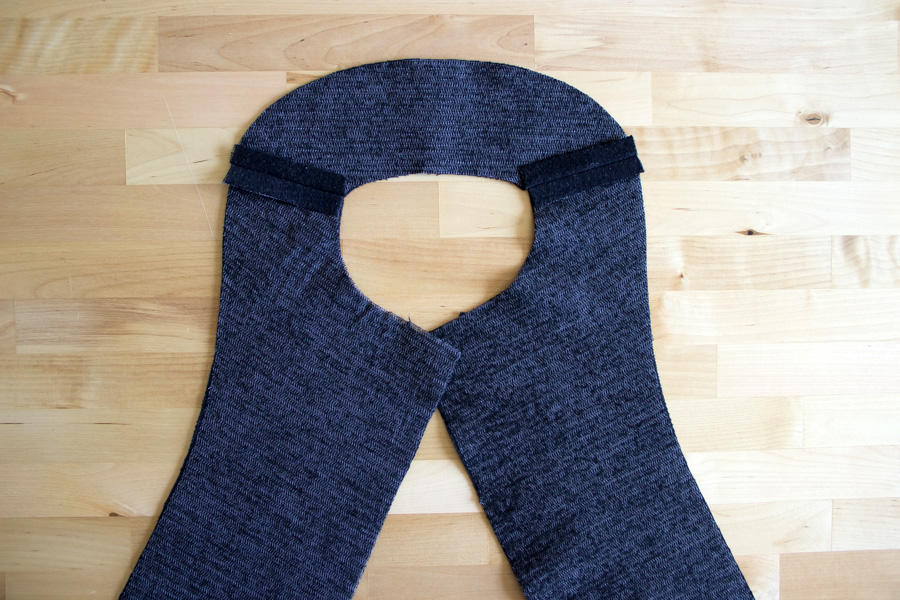
Sew the under collars (8) with right sides together. Press the seam open.
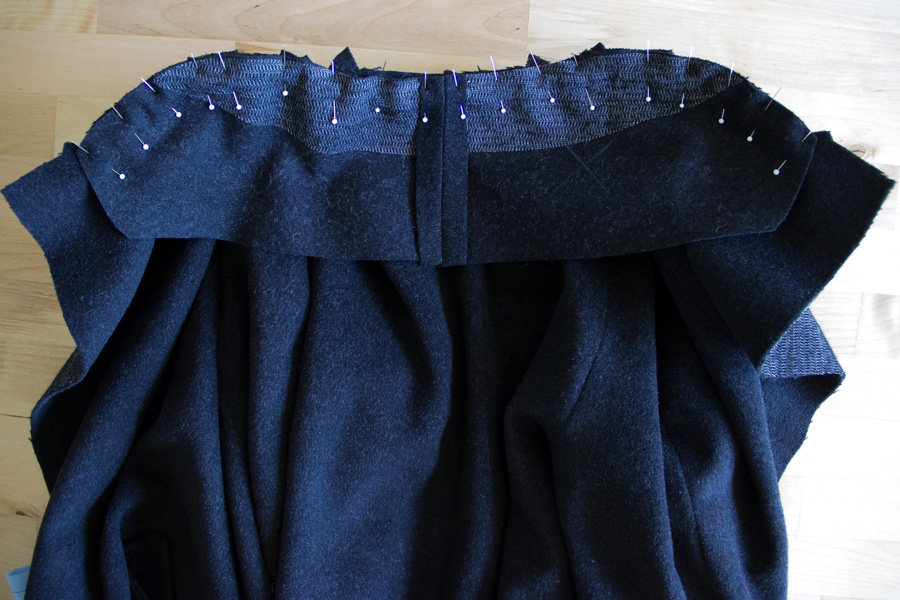
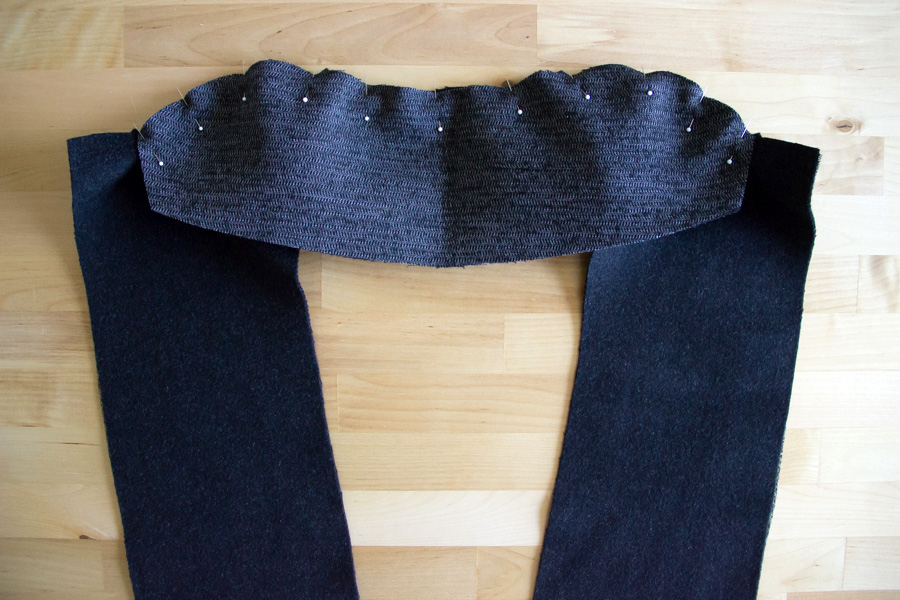
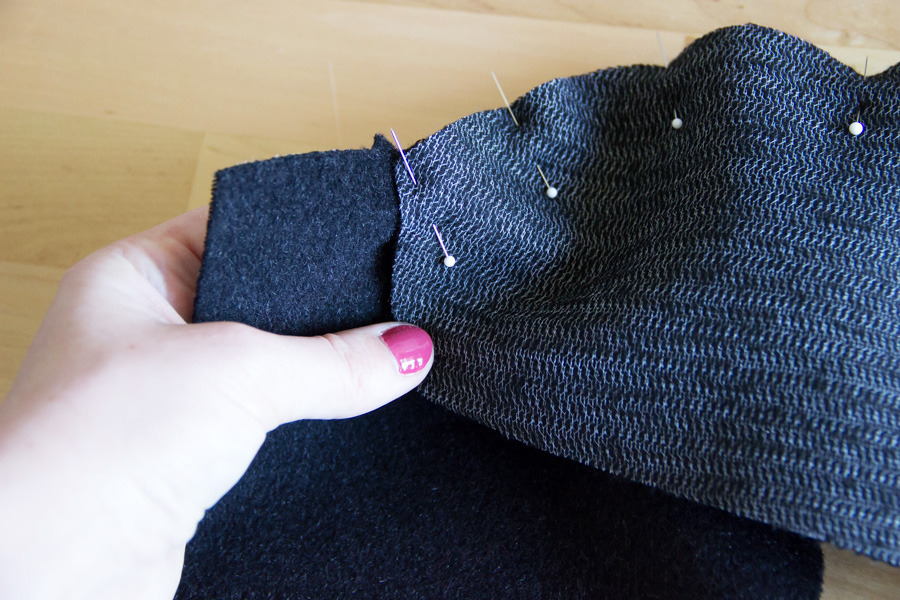
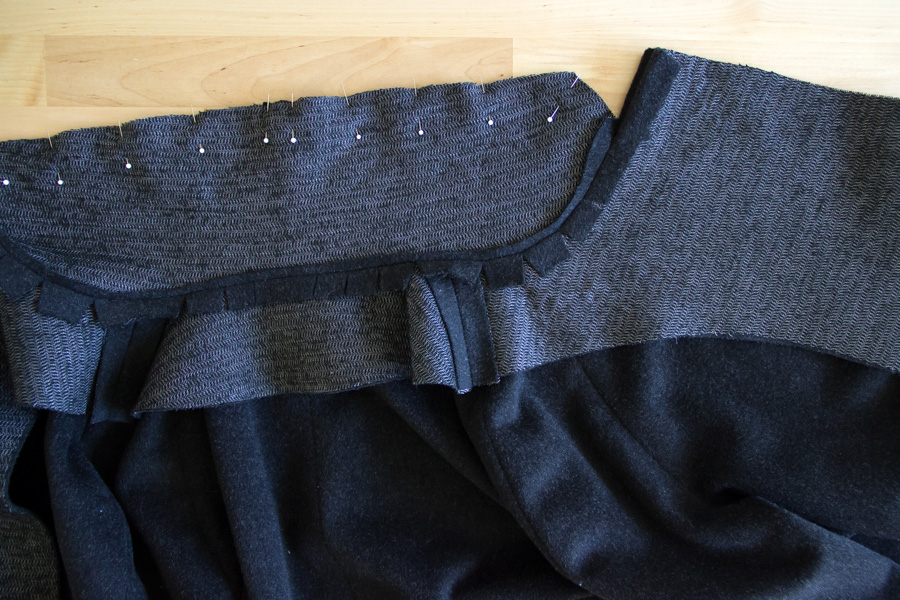
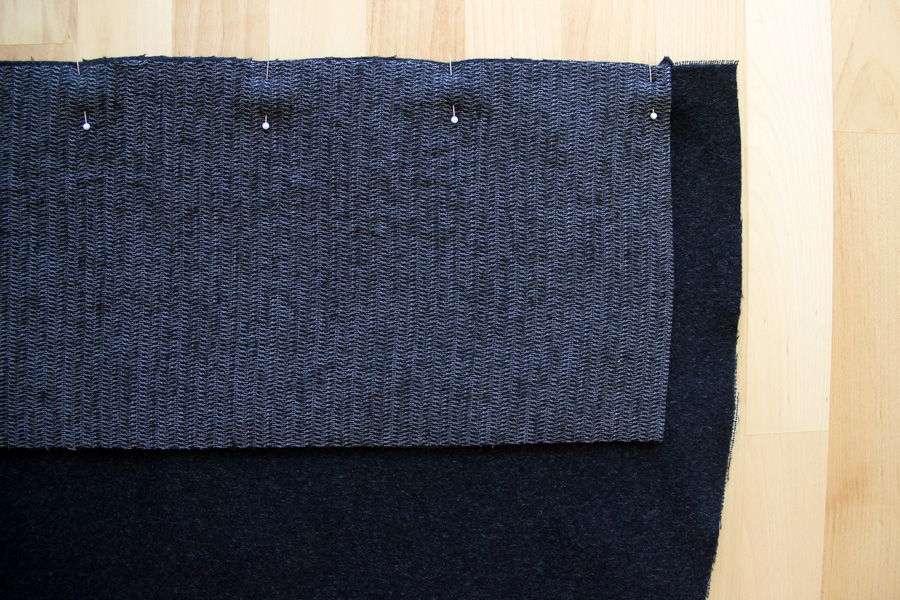
Pin the under collar to the coat with right sides together. Be careful not to mix up your pieces,
use the under collar (in two pieces and partly interfaced) and not the upper collar! Match all the markings as you pin: the center back seam of the coat with the center back seam of the under collar, the shoulder dots of the under collar with the shoulder seams of the coat, and the dots on the lapel with the ends of the under collar.
Stitch, leaving 5/8” free on each side.
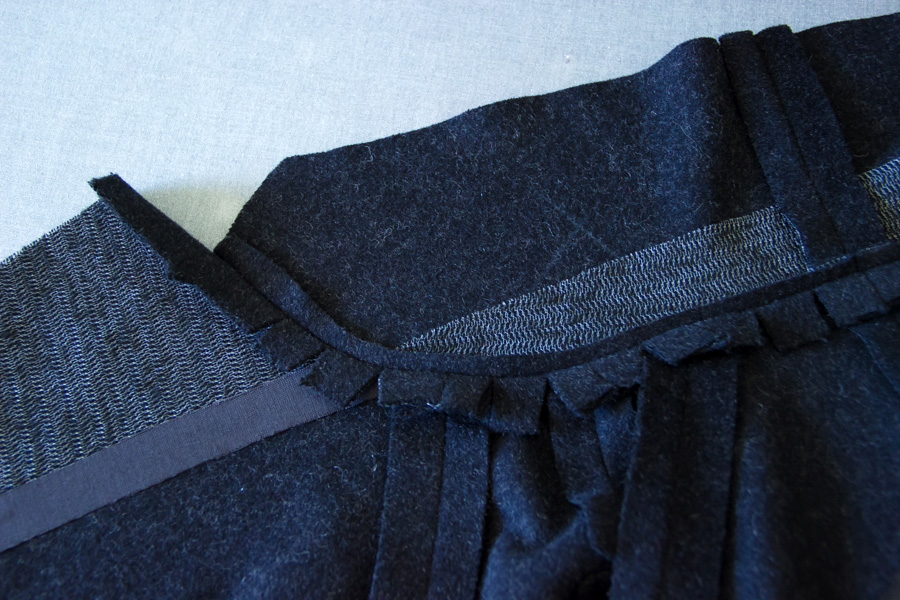
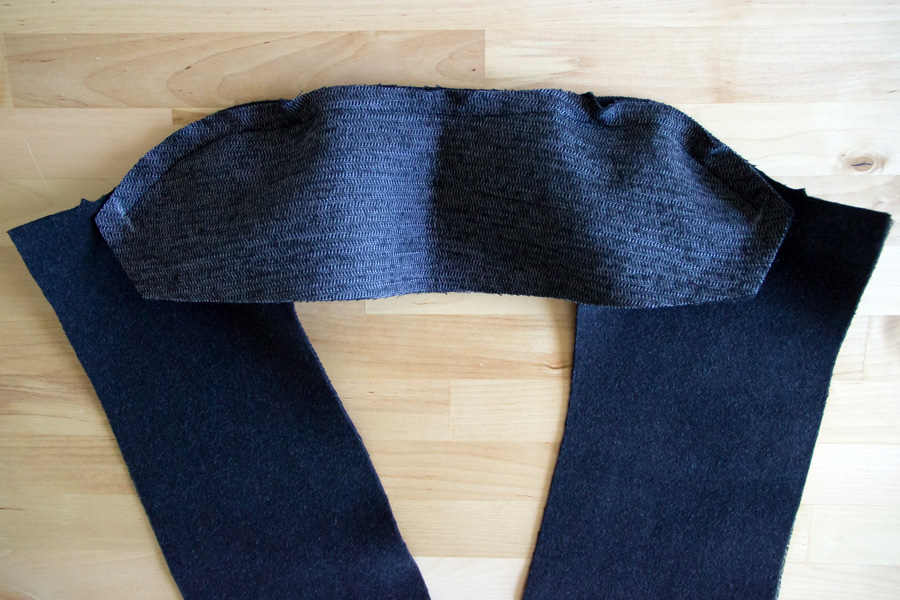
Trim the top seam allowance and notch the bottom one. Press the seam open.
Stitch the front facings (5) to the back facing (6) with right sides together. Press the seams open.
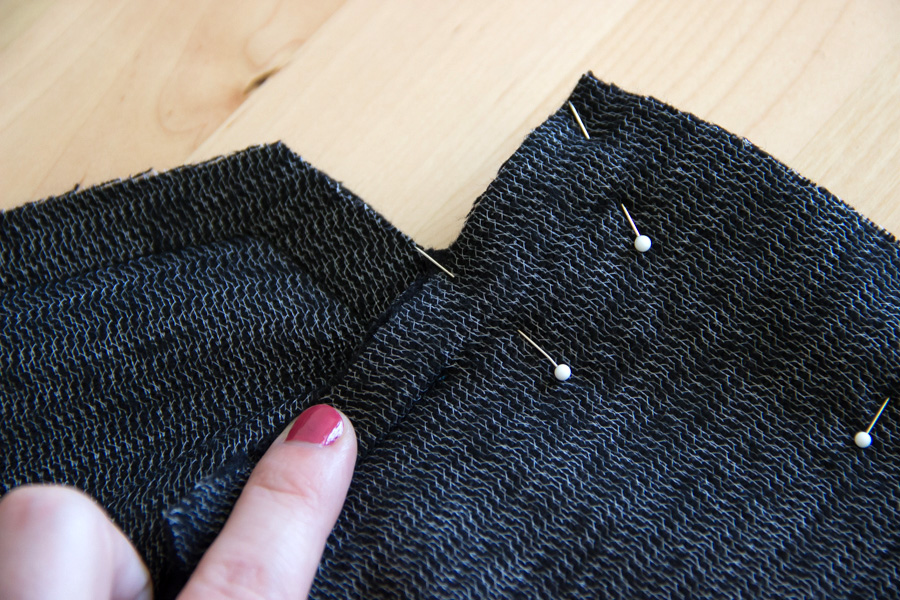
Similarly to how you assembled the under collar to the coat, now pin the upper collar to the facing with right sides together.
Match the dots of the upper collar with the shoulder seams, and align the ends of the upper collar with the dots on the lapel.

Stitch, leaving 5/8” free on each side. Trim the top seam allowance and notch the bottom one. Press the seam open.
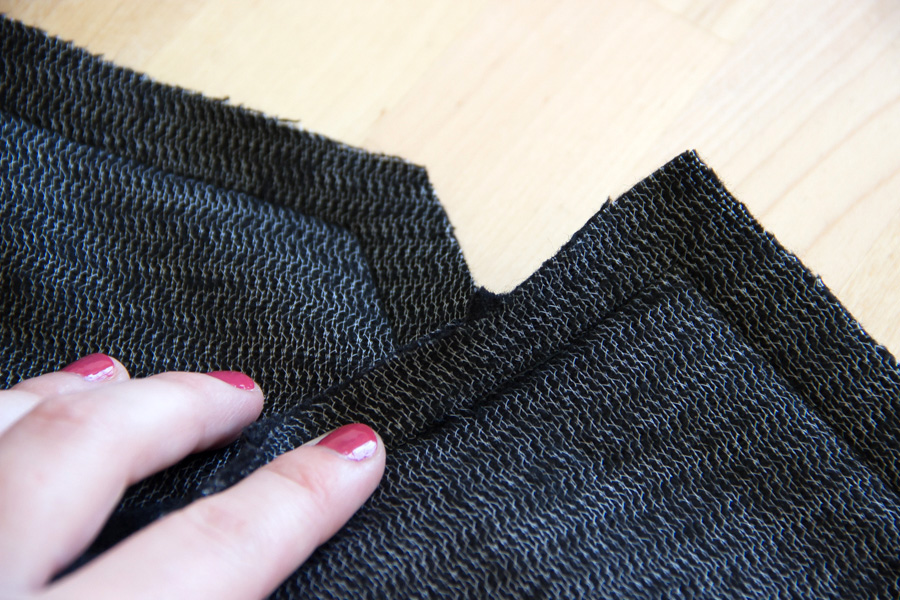
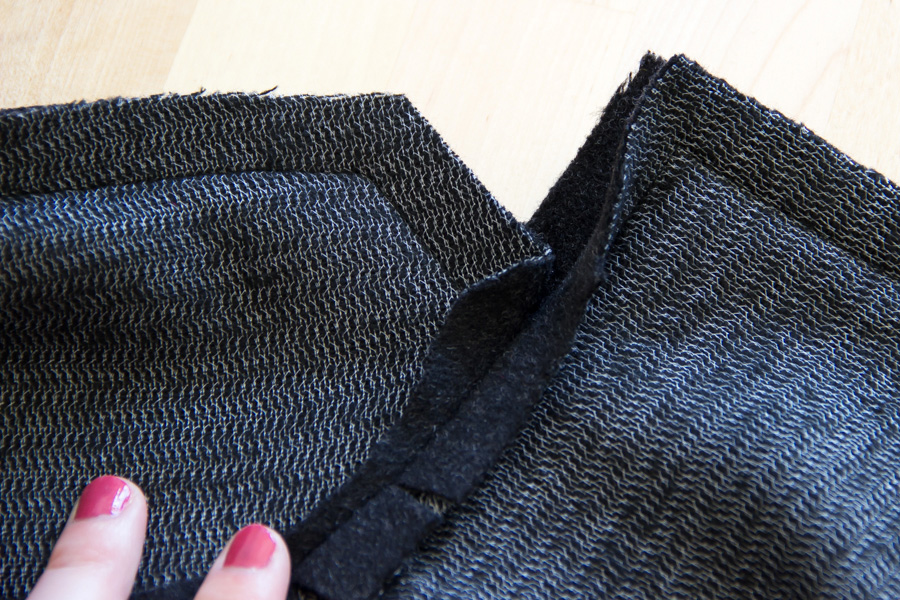
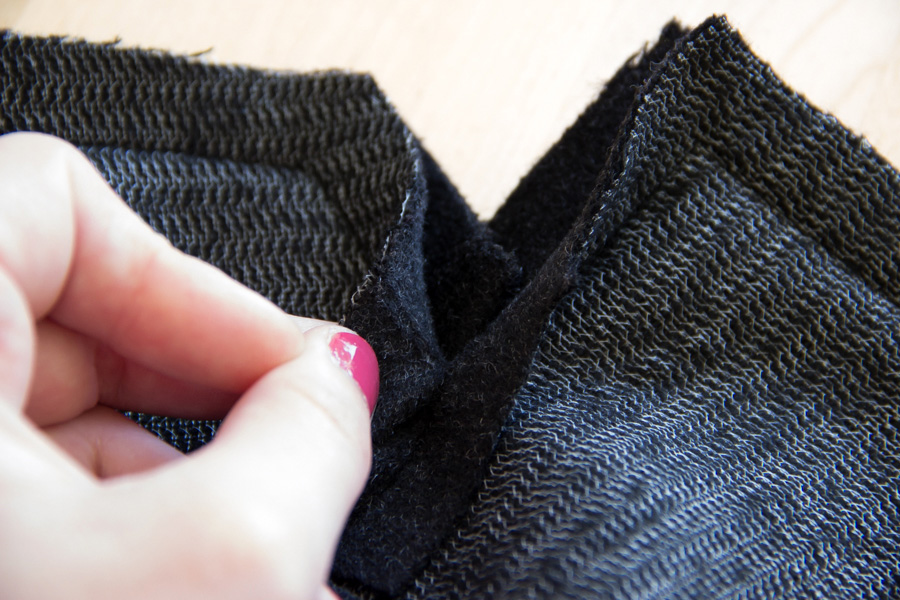
Pin the upper collar to the under collar, with right sides together.
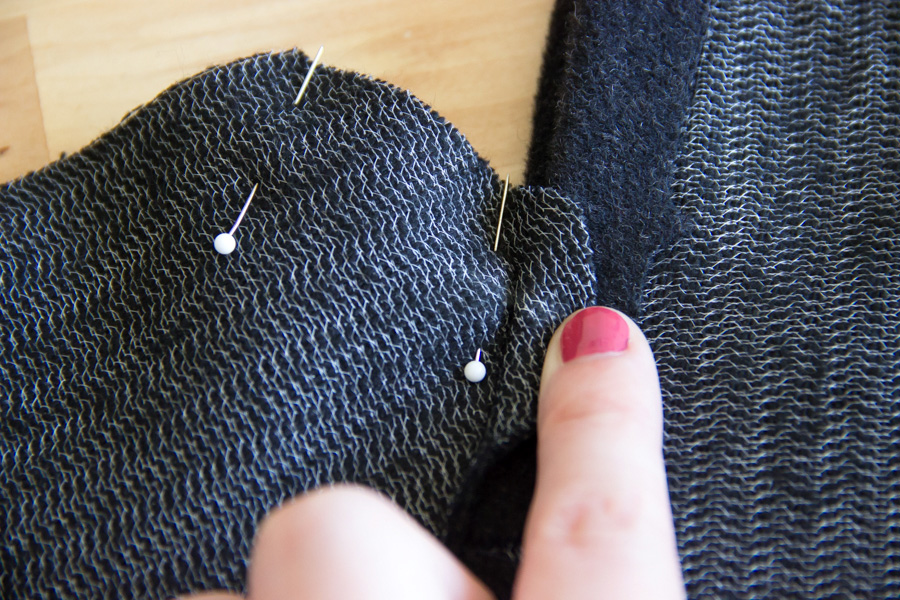
For the next step, fold the neckline seam allowances downward so they don’t get caught in the seam.
Stitch around the collar, starting and stopping right next to the neckline seam.
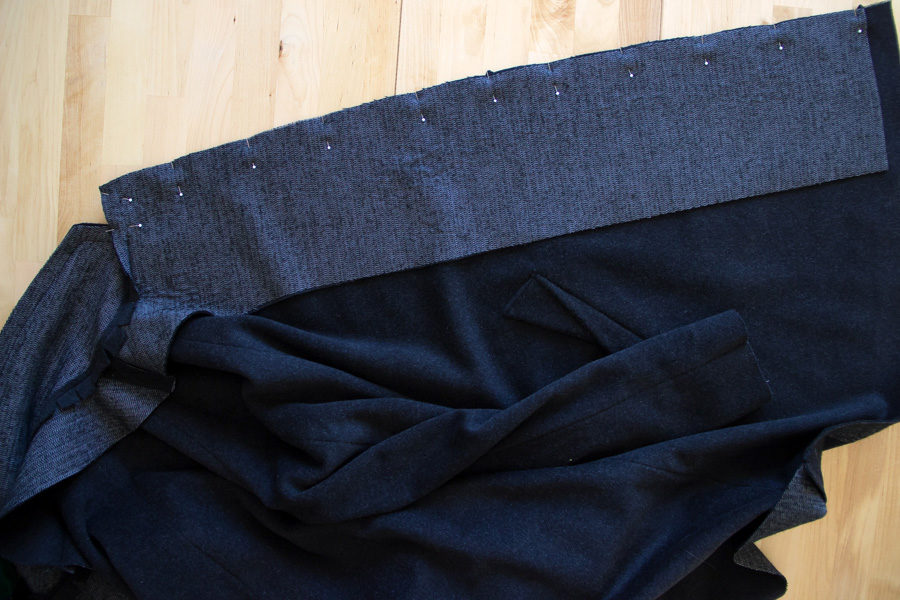
Pin the facing along the front of the coat.
Make sure to align the bottom of the facing with the marking on the pattern.
Now fold the neckline seam allowances upward so they don’t get caught in the seam.
Stitch the facings to the coat starting on each end of the neckline seam.
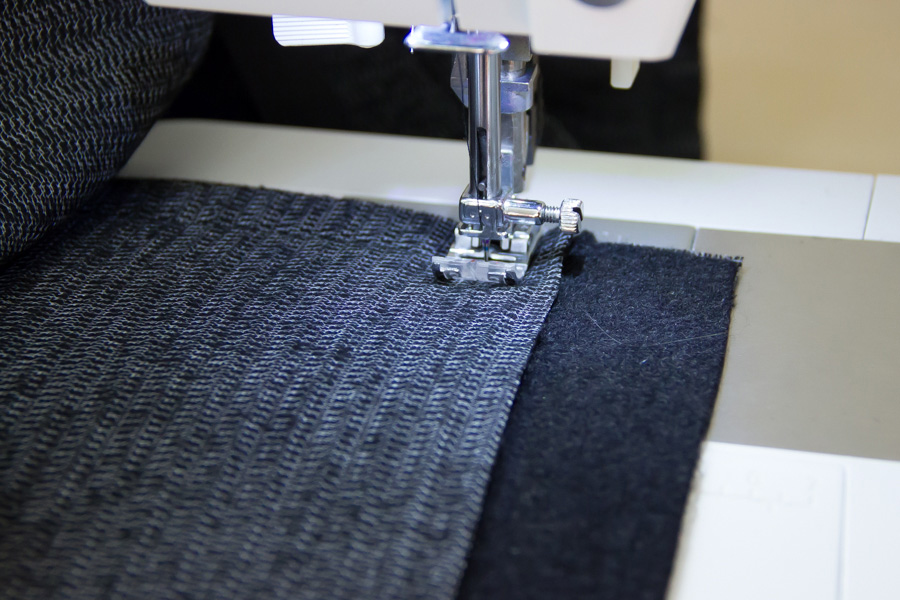
When you reach the bottom, pivot and keep sewing, stopping 5/8” from the inside edge of the facing.
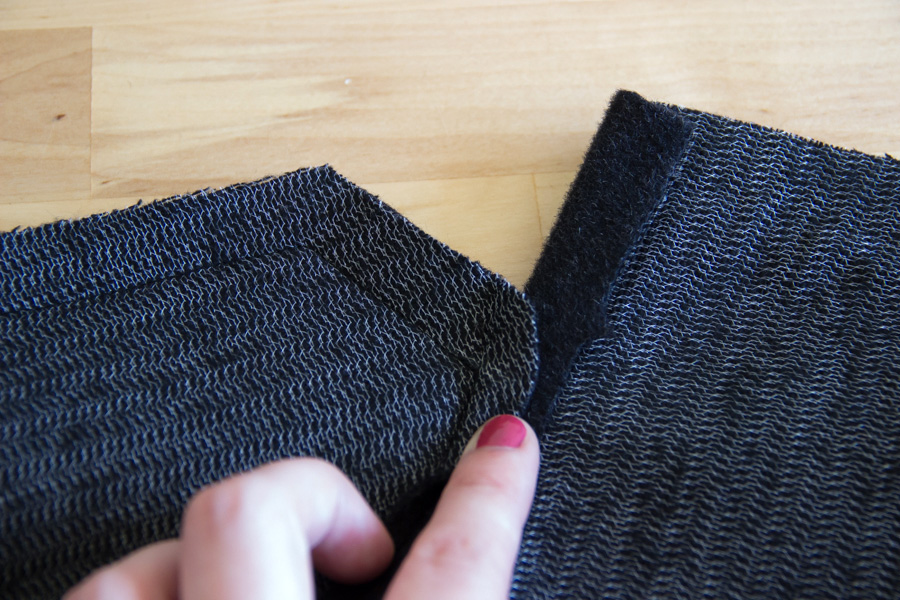
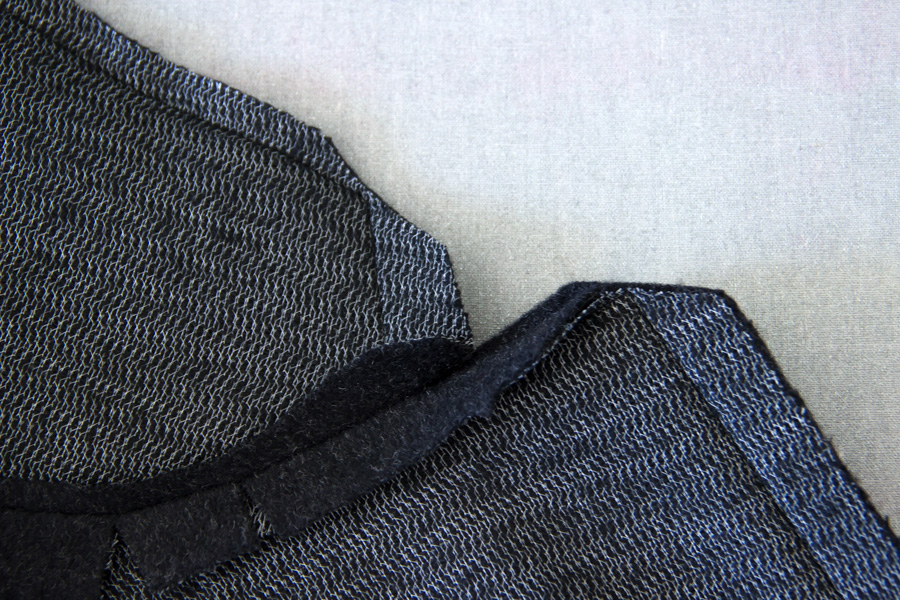
Now you can open the neckline seam allowances again. Press if needed so that they lay flat.
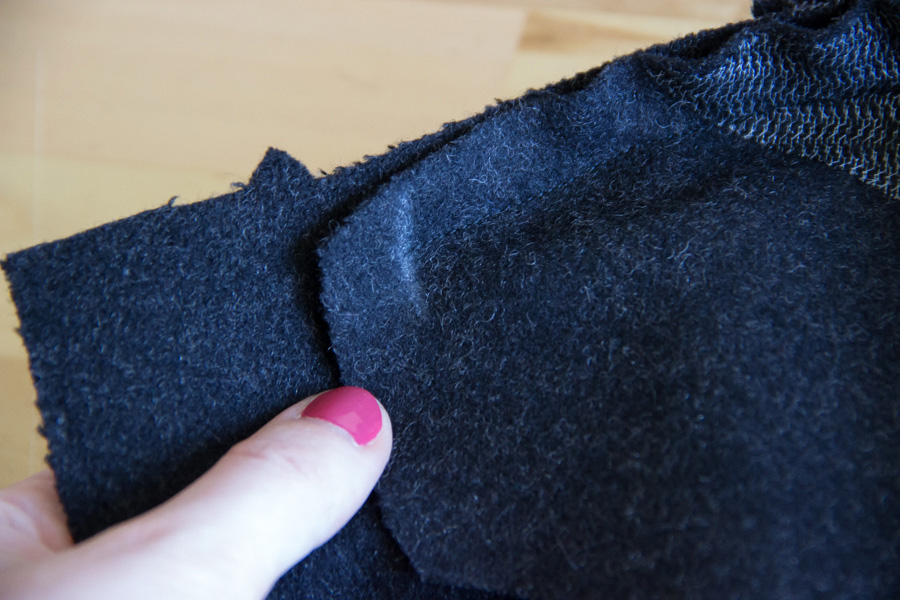
You collar is almost done! At this point, it’s possible you might have a tiny gap between the start of the collar seam and the start of the facing seam. This is not a problem, on the contrary! It will allow the collar to lay right so you don’t have drag lines. If the hole is too big, you can always close it with a few hand stitches later.
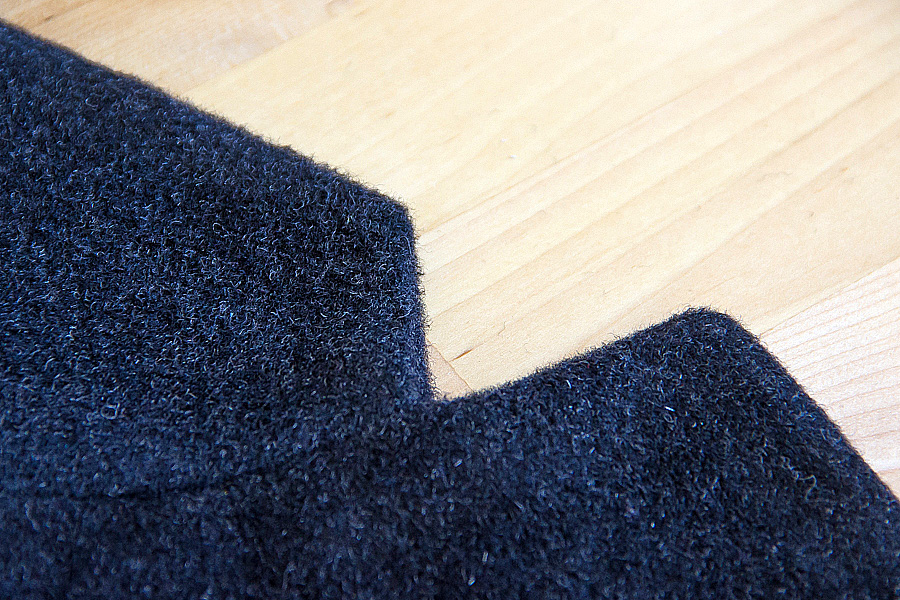
Trim the angles of the collar and the bottom of the facing.
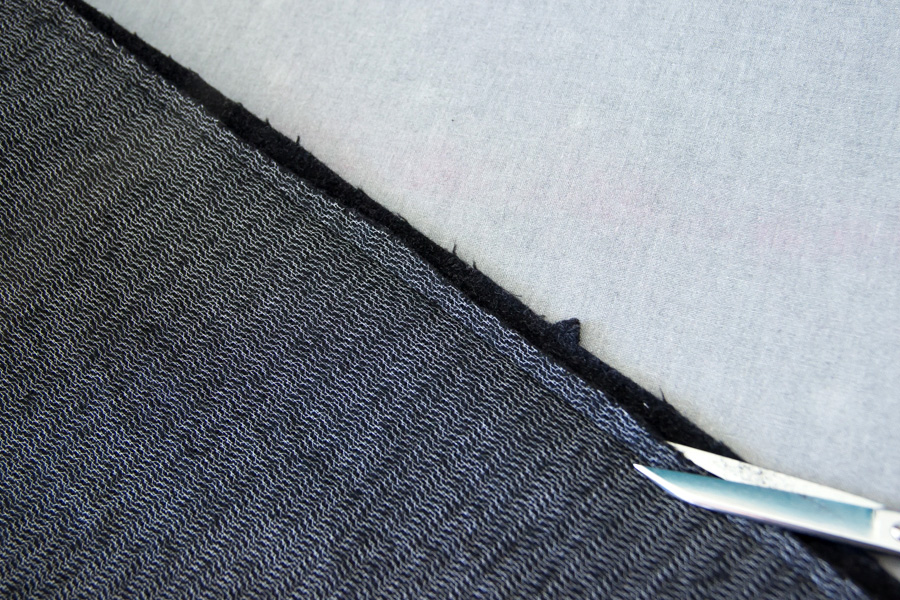
If your fabric is thick, you can also grade the seam allowances of the facing by trimming one of the layers. This will help reduce bulk.
Turn the collar and facing to the right side. Press carefully.

The last step is making sure that the upper and under collar stay together at the neckline seam, so the collar stays flat. Pin them together right above the neckline seam, then lift the facing up. To hold the two layers together, you have two options. The first is to stitch the notched seam allowances together by machine, as close to the seam as possible and going as far as possible on each side. The second, which we prefer, is to do it by hand.


