The Sirocco jumpsuit has a tapered design through the legs, but the fit should never be so tight that it’s uncomfortable. That’s why today we are covering how to do a full calf adjustment.
If you find yourself with fabric bunching up around your knees or pant legs that feel too tight across your calves, adding some width to the back of the leg might give you a more comfortable fit.
Here again, in order to know how much you’ll need to add, you might want to make a muslin. The amount of ease to consider depends on your preferences not only in terms of comfort but also in terms of style. Alternatively, you can compare your calf measurement (at the widest point) to the width of the front and back pattern pieces. Just remember to take into account the seam allowances as well as 5 to 10 extra centimeters (2″ to 4″) for ease.
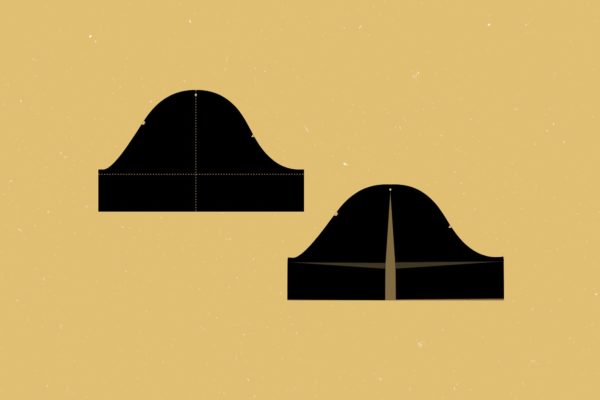
1/ On the back leg piece, draw a line joining the two markings at knee height. Mark a point 2 cm (¾”) above the center of this line, then draw a vertical line going through that point (parallel to the straight grain).

2/ Draw two diagonal lines joining this point to the side seam and inside leg seam. Slash along the vertical line, then along both diagonal lines, leaving pivot points at the side seams.

3/ Pivot the two lower parts of the leg to reach the desired width.

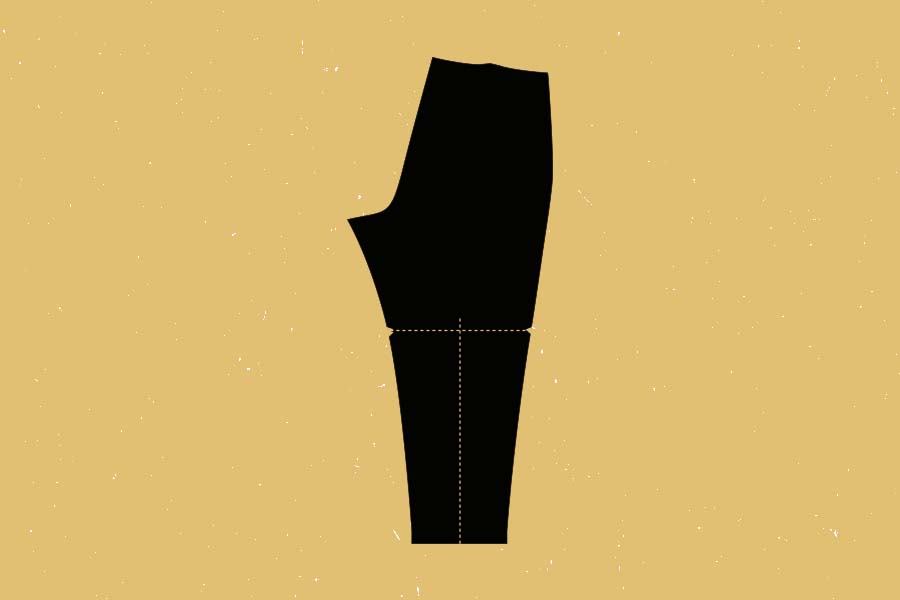
4/ Take a new sheet of pattern paper and trace the edges of the leg. Draw a new horizontal hemline, perpendicular to the straight grain.

Here you go! The back leg is the only one we need to adjust here, the front leg stays the same.