This week, we’ve prepared a whole series of blog posts on the most common fit adjustments for the Sirocco jumpsuit. Let’s start today with the most frequent: adjusting the bodice for a full bust.
First of all, you’ll need to determine if you need a bust adjustment, and if so how much you need to add! To do so, you’ll need to do a muslin of the garment, since the adjustment value will depend on your body type and your preferences in terms of ease. For Sirocco, it is important to sew a full muslin (the shorts version for instance) because the waistband and pants will pull the bodice down and the sleeves will also impact the fit.
Your muslin has to fit properly through the shoulders, which means that the armhole seam must hit the edge of your shoulder, and not fall down your arm. Similarly, it shouldn’t ride up on the shoulder and hinder arm movements. If you find that it’s too high or too low, you might need to go up or down a size for the bodice.
If your muslin fits well at the shoulders but feels too tight at the bust, then you likely need a full bust adjustment. Slash the bodice vertically a few centimeters at the bust apex on each breast, and measure the gap that forms naturally. This distance is your bust adjustment value.
Full Bust Adjustment
Sirocco’s bodice features a pleat at the waist, which is in fact a dart disguised as a pleat. In order to add volume at the bust, we’ll treat this pleat as if it were a dart.
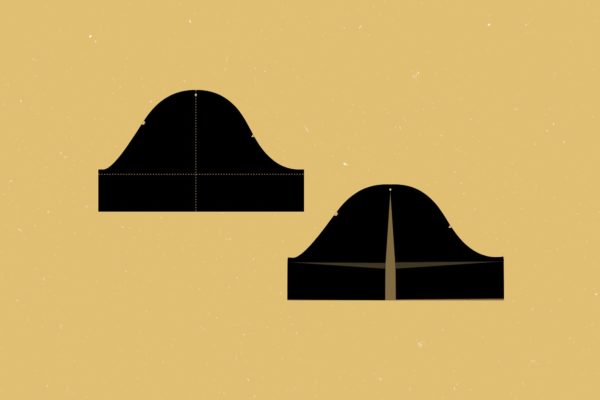
1/ On the front of the bodice, draw two lines extending the pleat markings to form a dart.

2/ Draw a line joining the dart end to the armhole (you can use the armhole notch as a reference point). Draw the dart’s center line as well. Slash the bodice along this line up to the dart end, then up to the armhole, leaving a pivot point at the armhole.
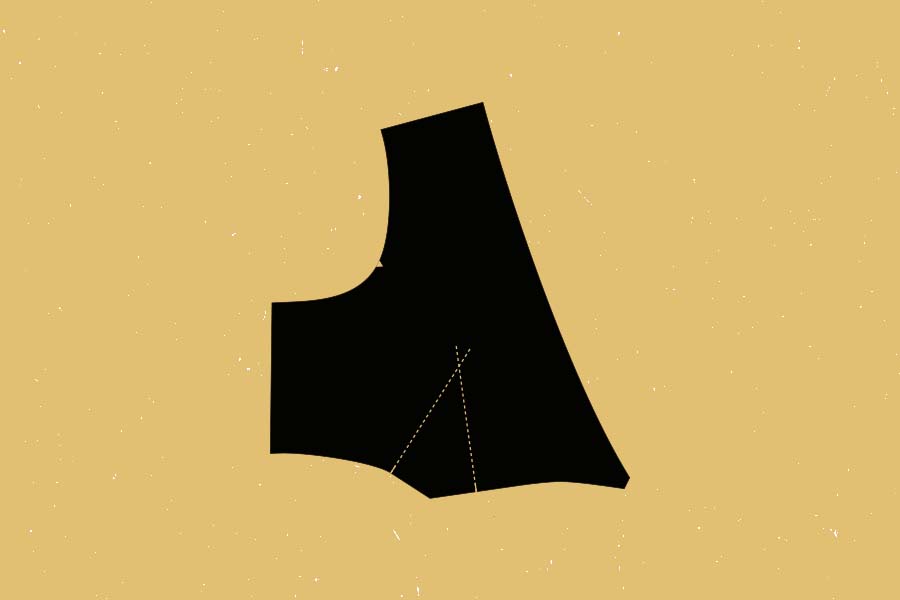
3/ Pivot the outer part of the bodice to the left, using the armhole edge as a pivot point, until you reach the desired enlargement at the bust apex.

4/ Slash the inside part of the bodice perpendicularly to the straight grain, below the bust apex.
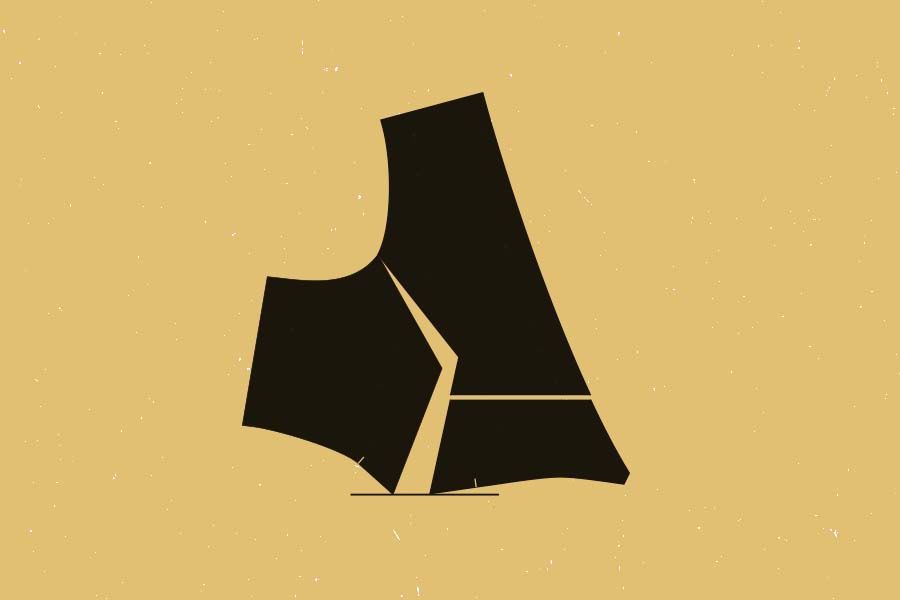
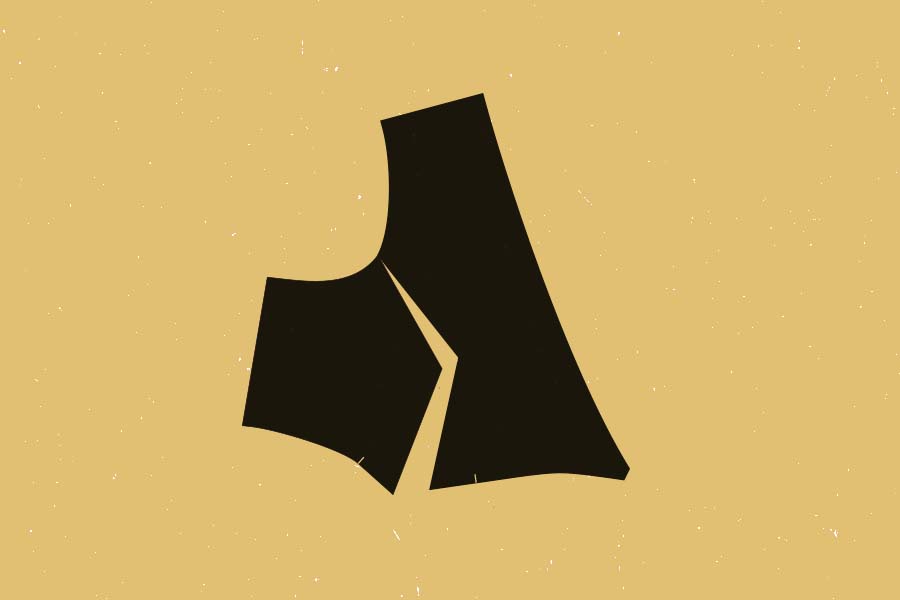
5/ Shift the lower right part down, so that the ends of both legs of the waist dart are level.

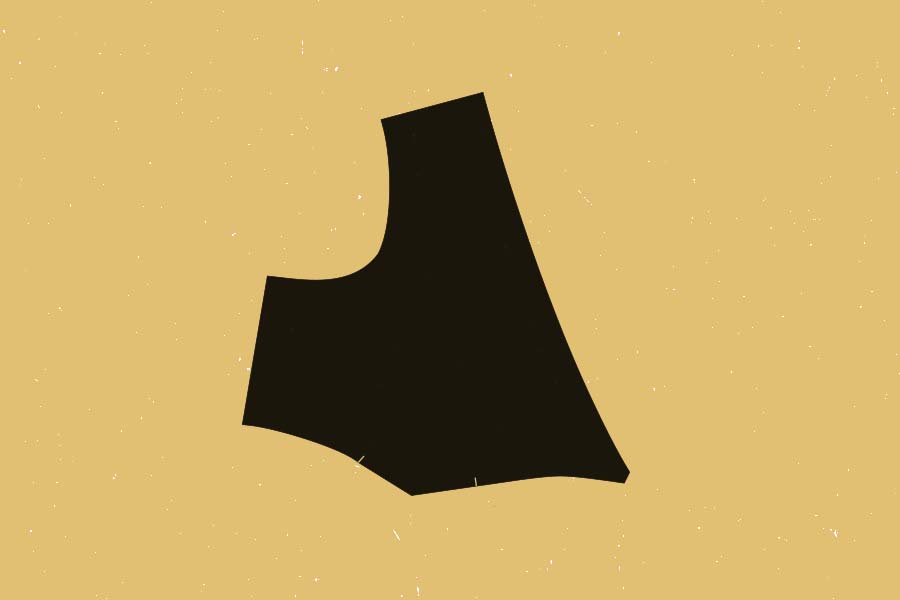
6/ Take a new sheet of pattern paper and trace the edges of the bodice, as well as the markings for the pleat.
If your adjustment value is substantial, you’ll need to adapt the length of the neckband. To do so, measure the height added on step 5 and lengthen the neckband by the same amount.